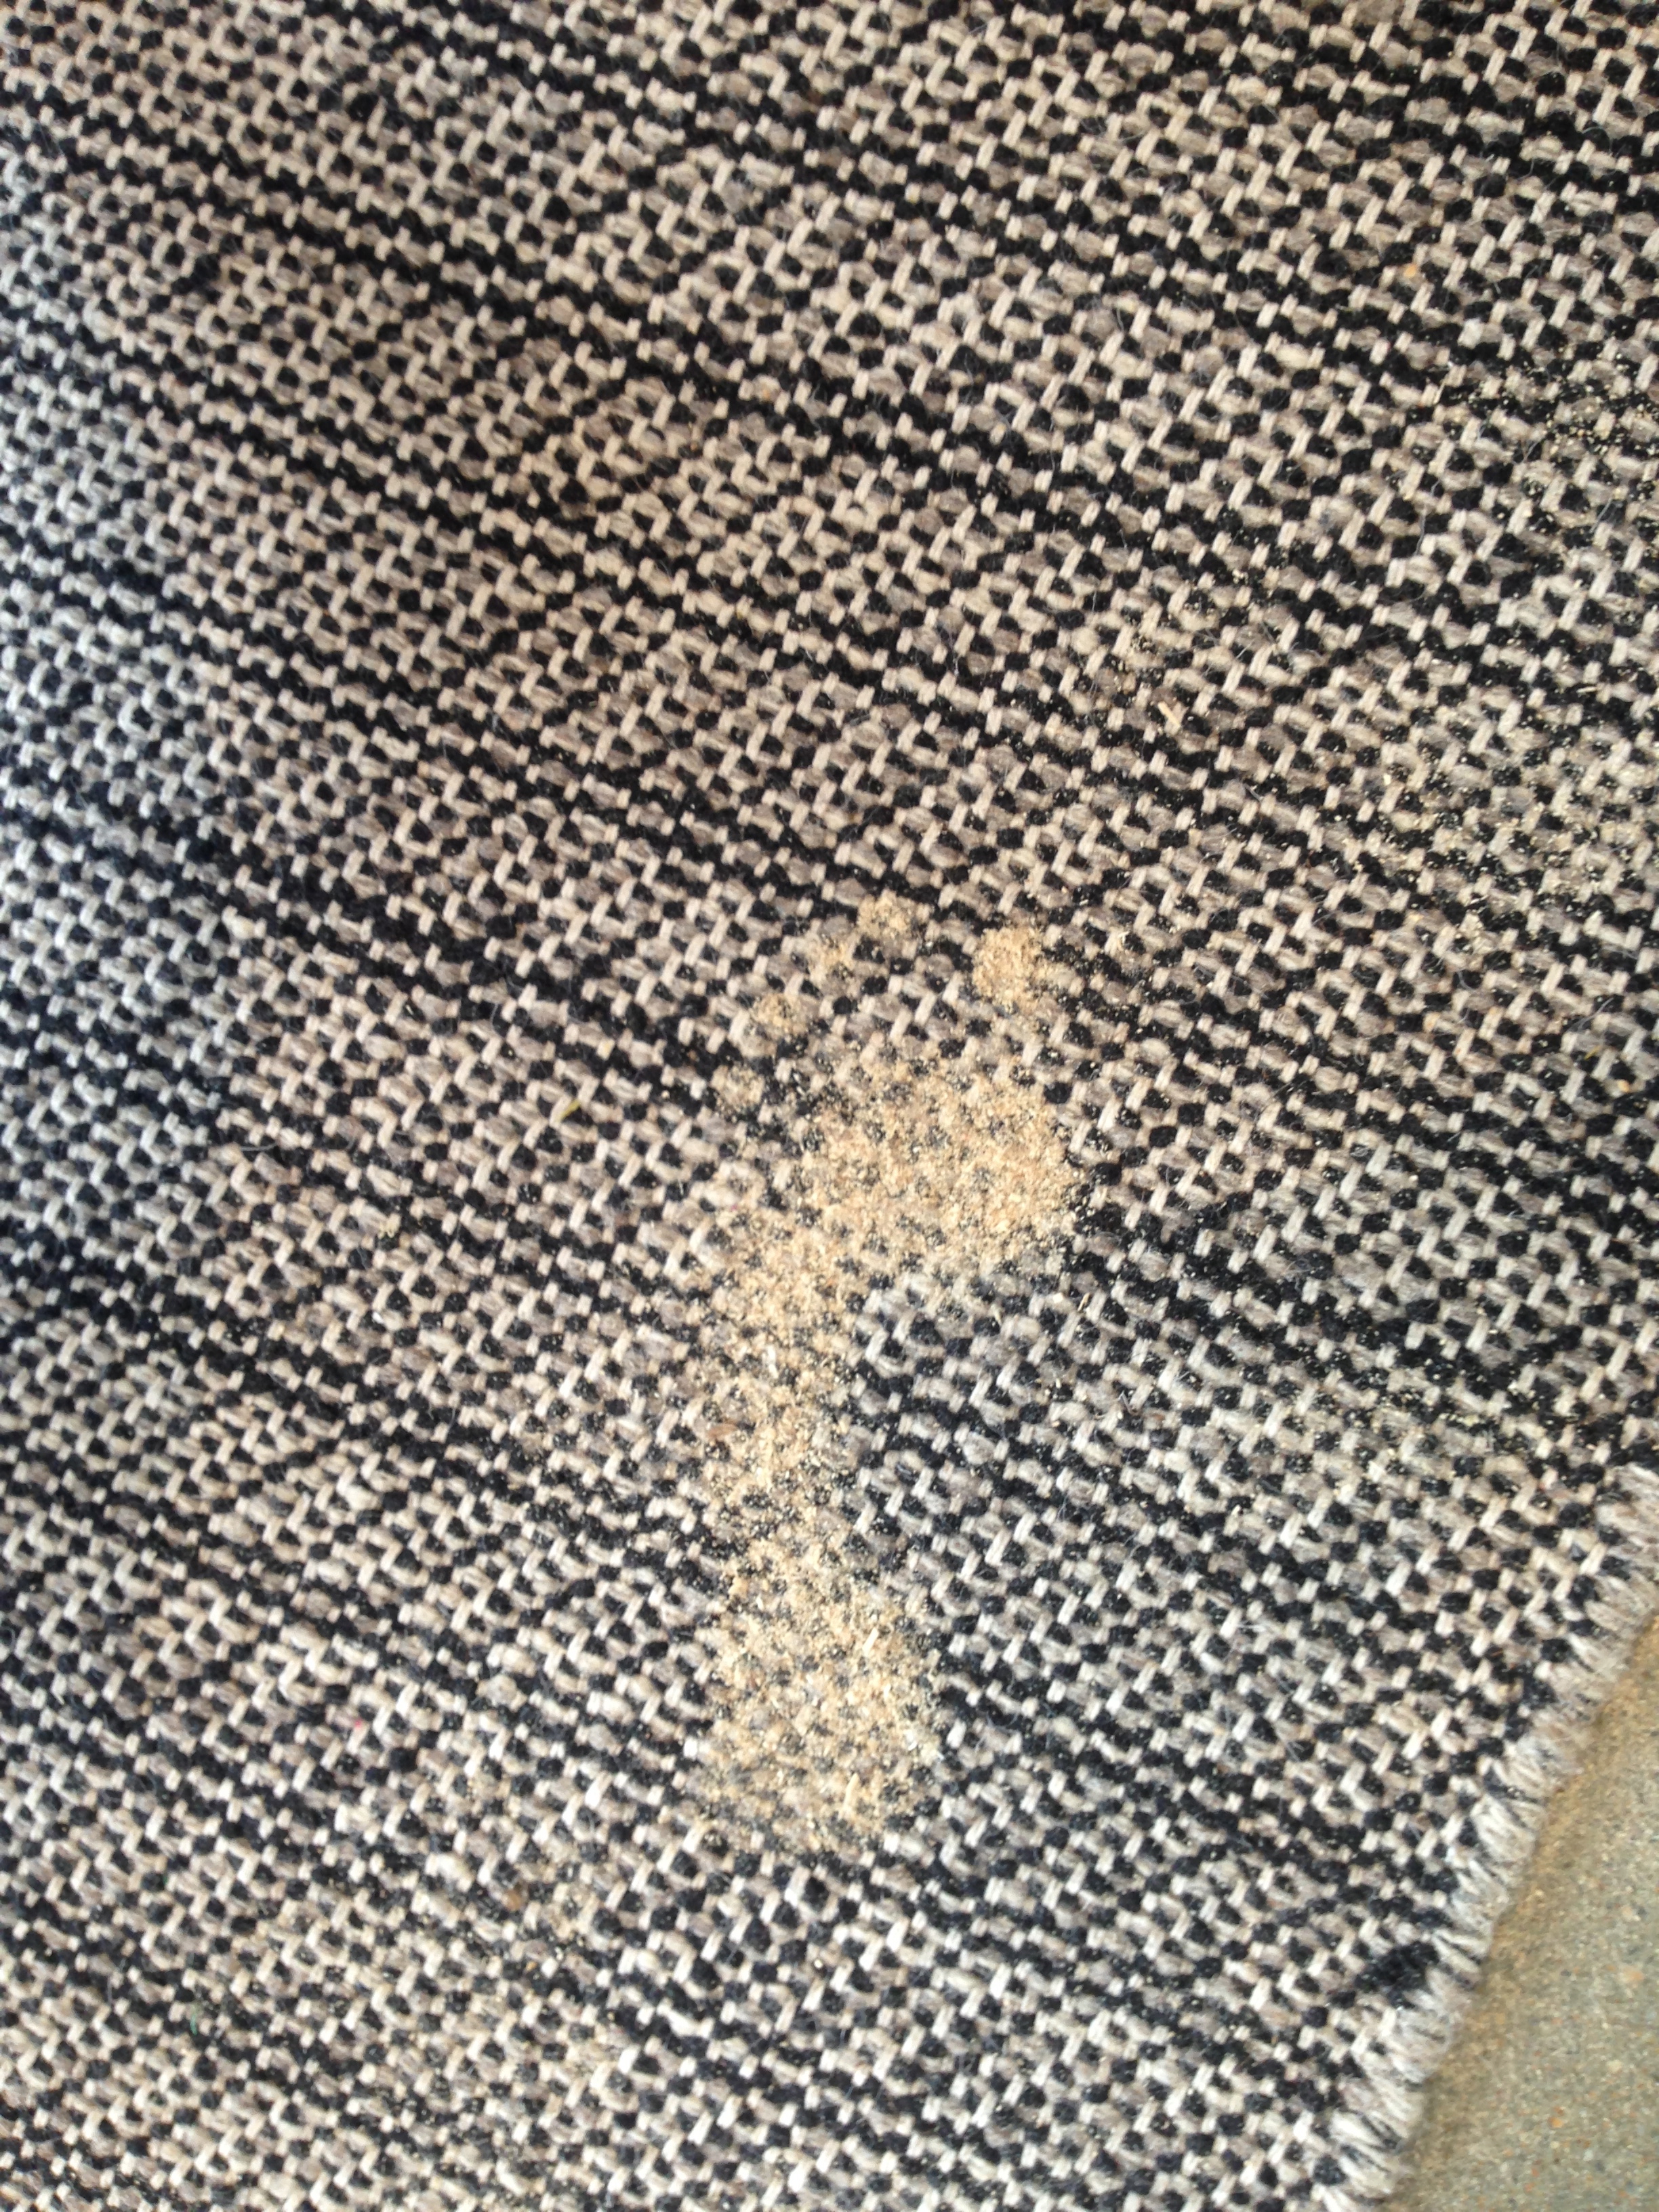
Changing the curtains immediately improved the feel of my space. The existing curtains were heavy grey curtains in some unnatural (gasp) fabric that sat low over the windows. As my place was a serviced apartment I kept imagining the breath of various interstate visitors hanging in the poly blend… Ok, perhaps I am being a bit melodramatic, but it is not an exaggeration to say that, along with the carpet, I was particularly happy to see these curtains go.
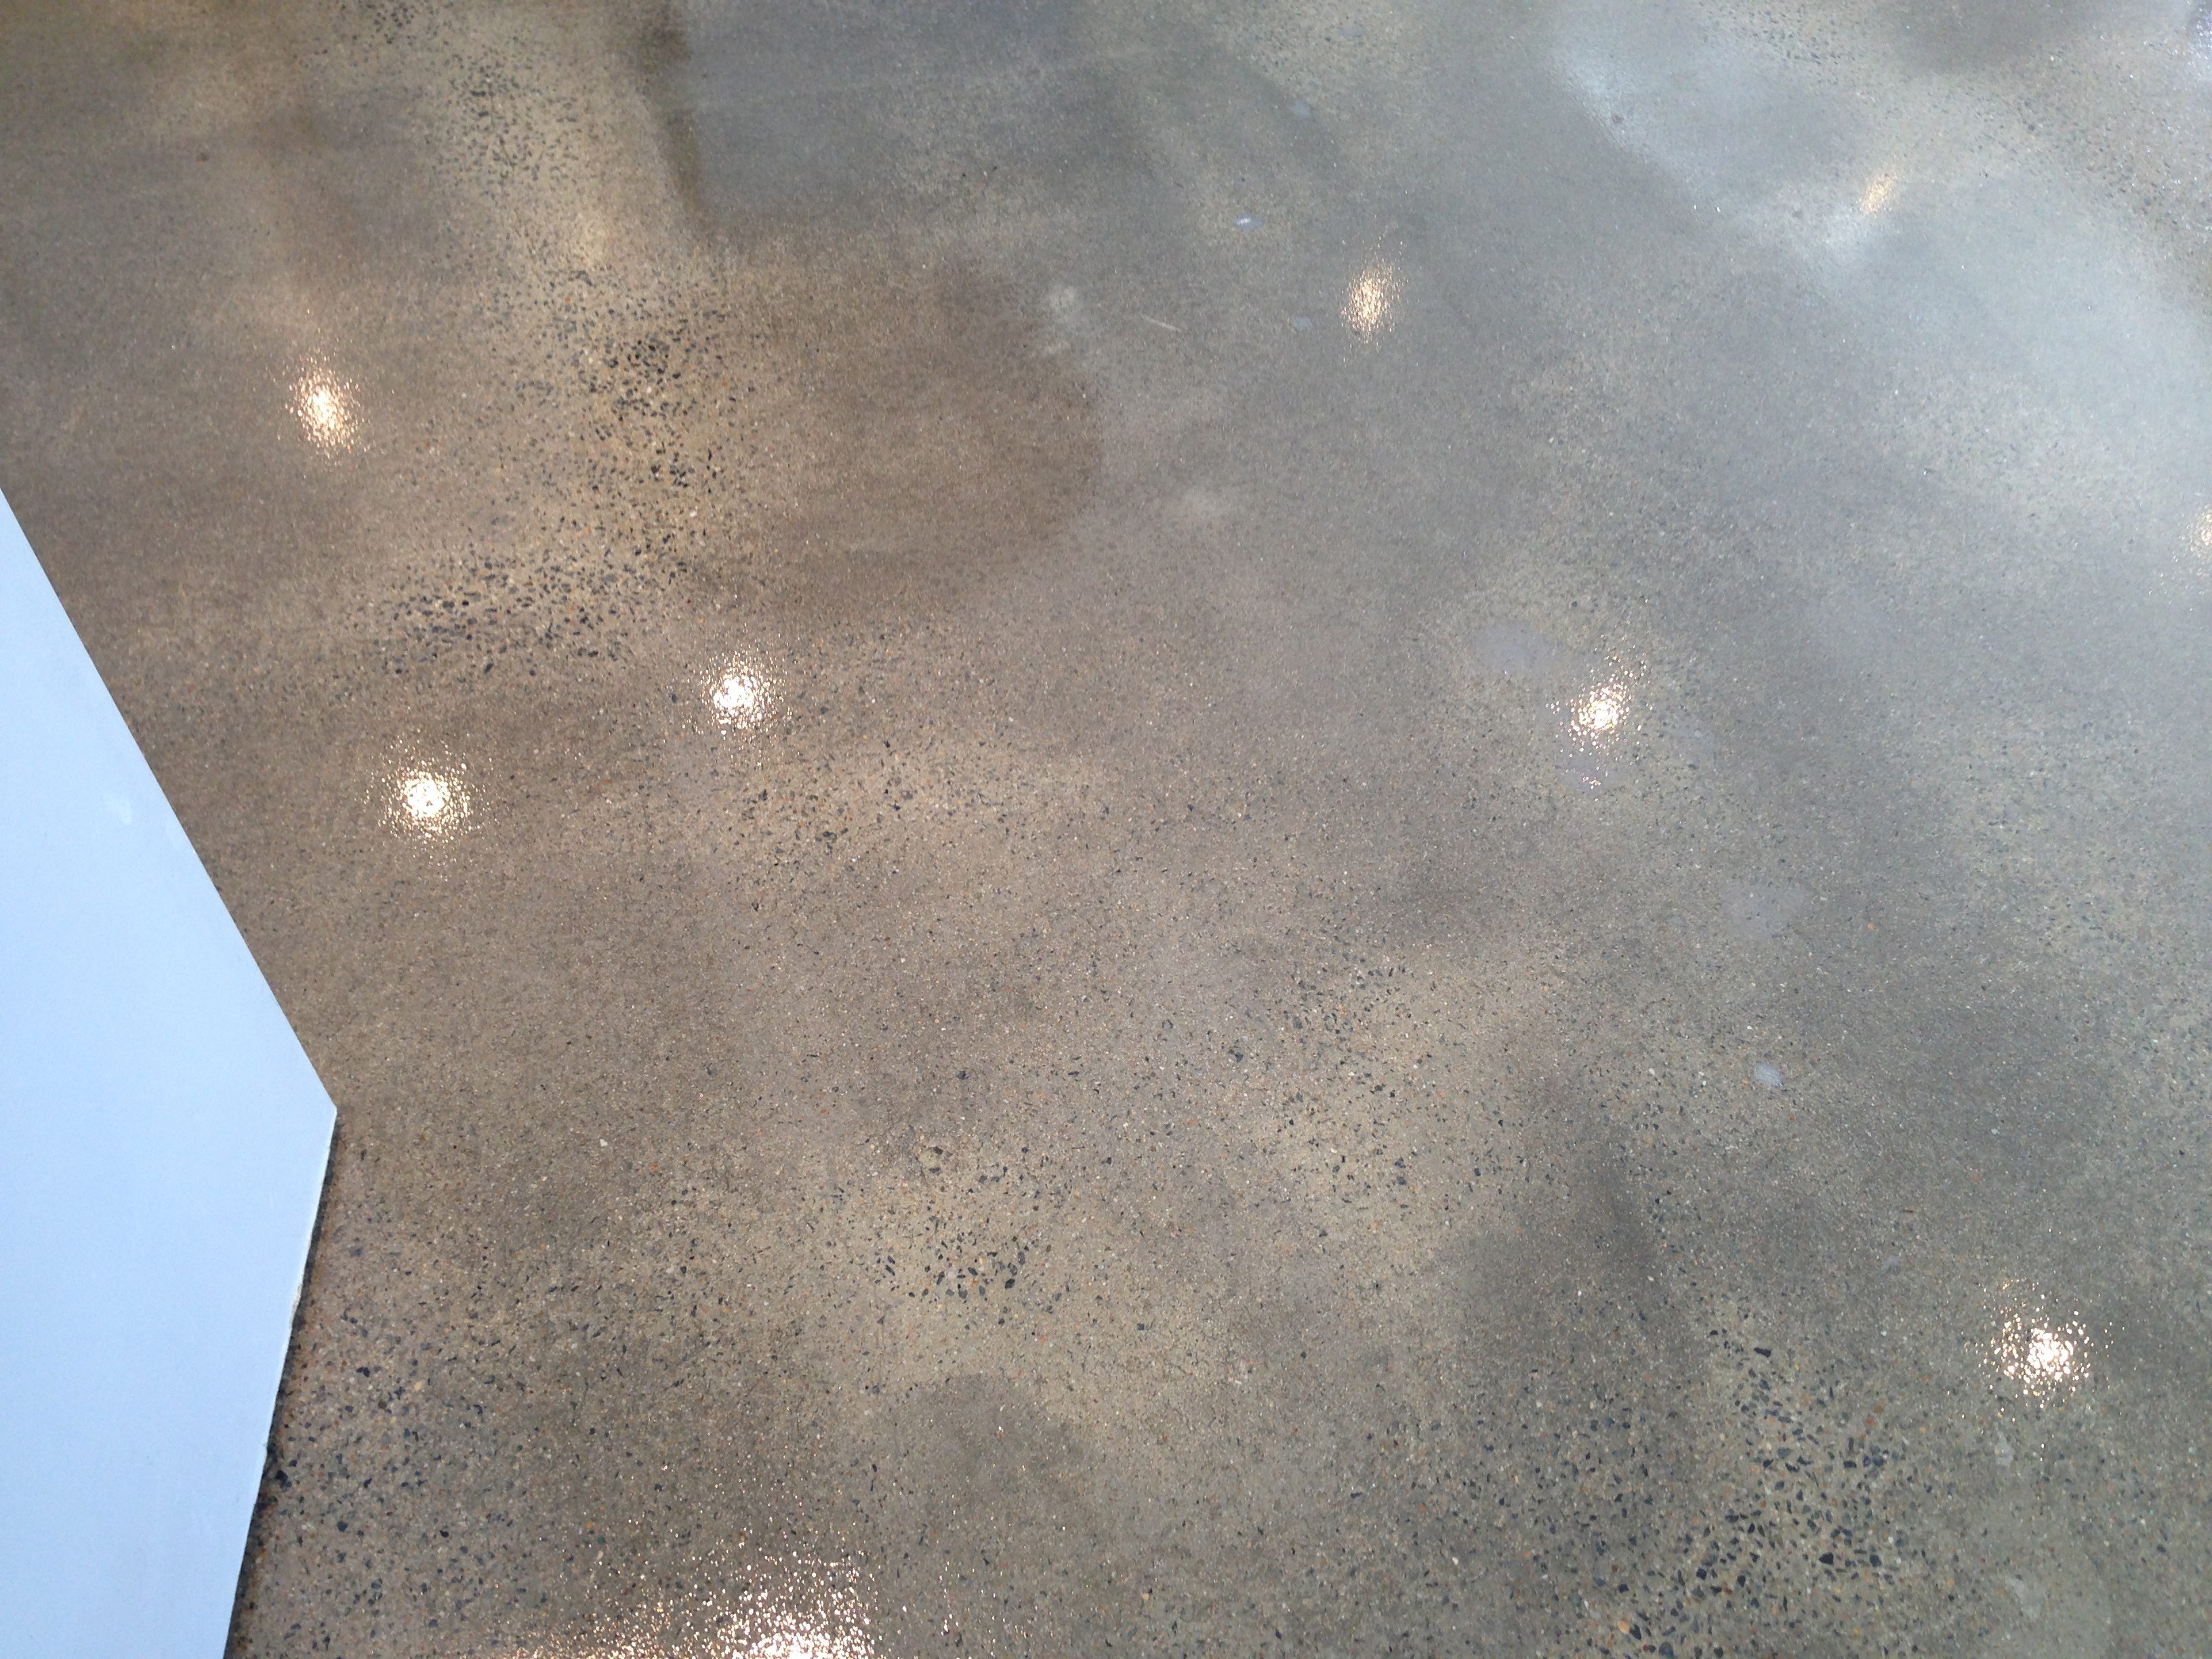
I wanted something in a natural fabric that would stretch the length of the wall and also from the roof to the floor. And I found them: AINA linen curtains from IKEA. Such a great find. I had to sew* (*outsource to a family member) several curtains together to cross the whole length of the wall. The curtain rail was tricky but I came up with an ingenious plan: I removed the old shiny white double metal rails that held the old curtains and spray painted them matt black (using a primer coat first). I then hacksawed them to fit the length of the wall and screwed them to the roof. A bit complicated, but basically free. A great result too–a neat black line across the top of the ceiling with no fussy fixtures. Having the curtains reach from the roof to the floor really makes the room seem bigger (cliché I know, but true). I was tossing up between the white, grey and the beige colour and I am happy with my choice – the beige mixes well with the warm colour of the polished concrete floors.

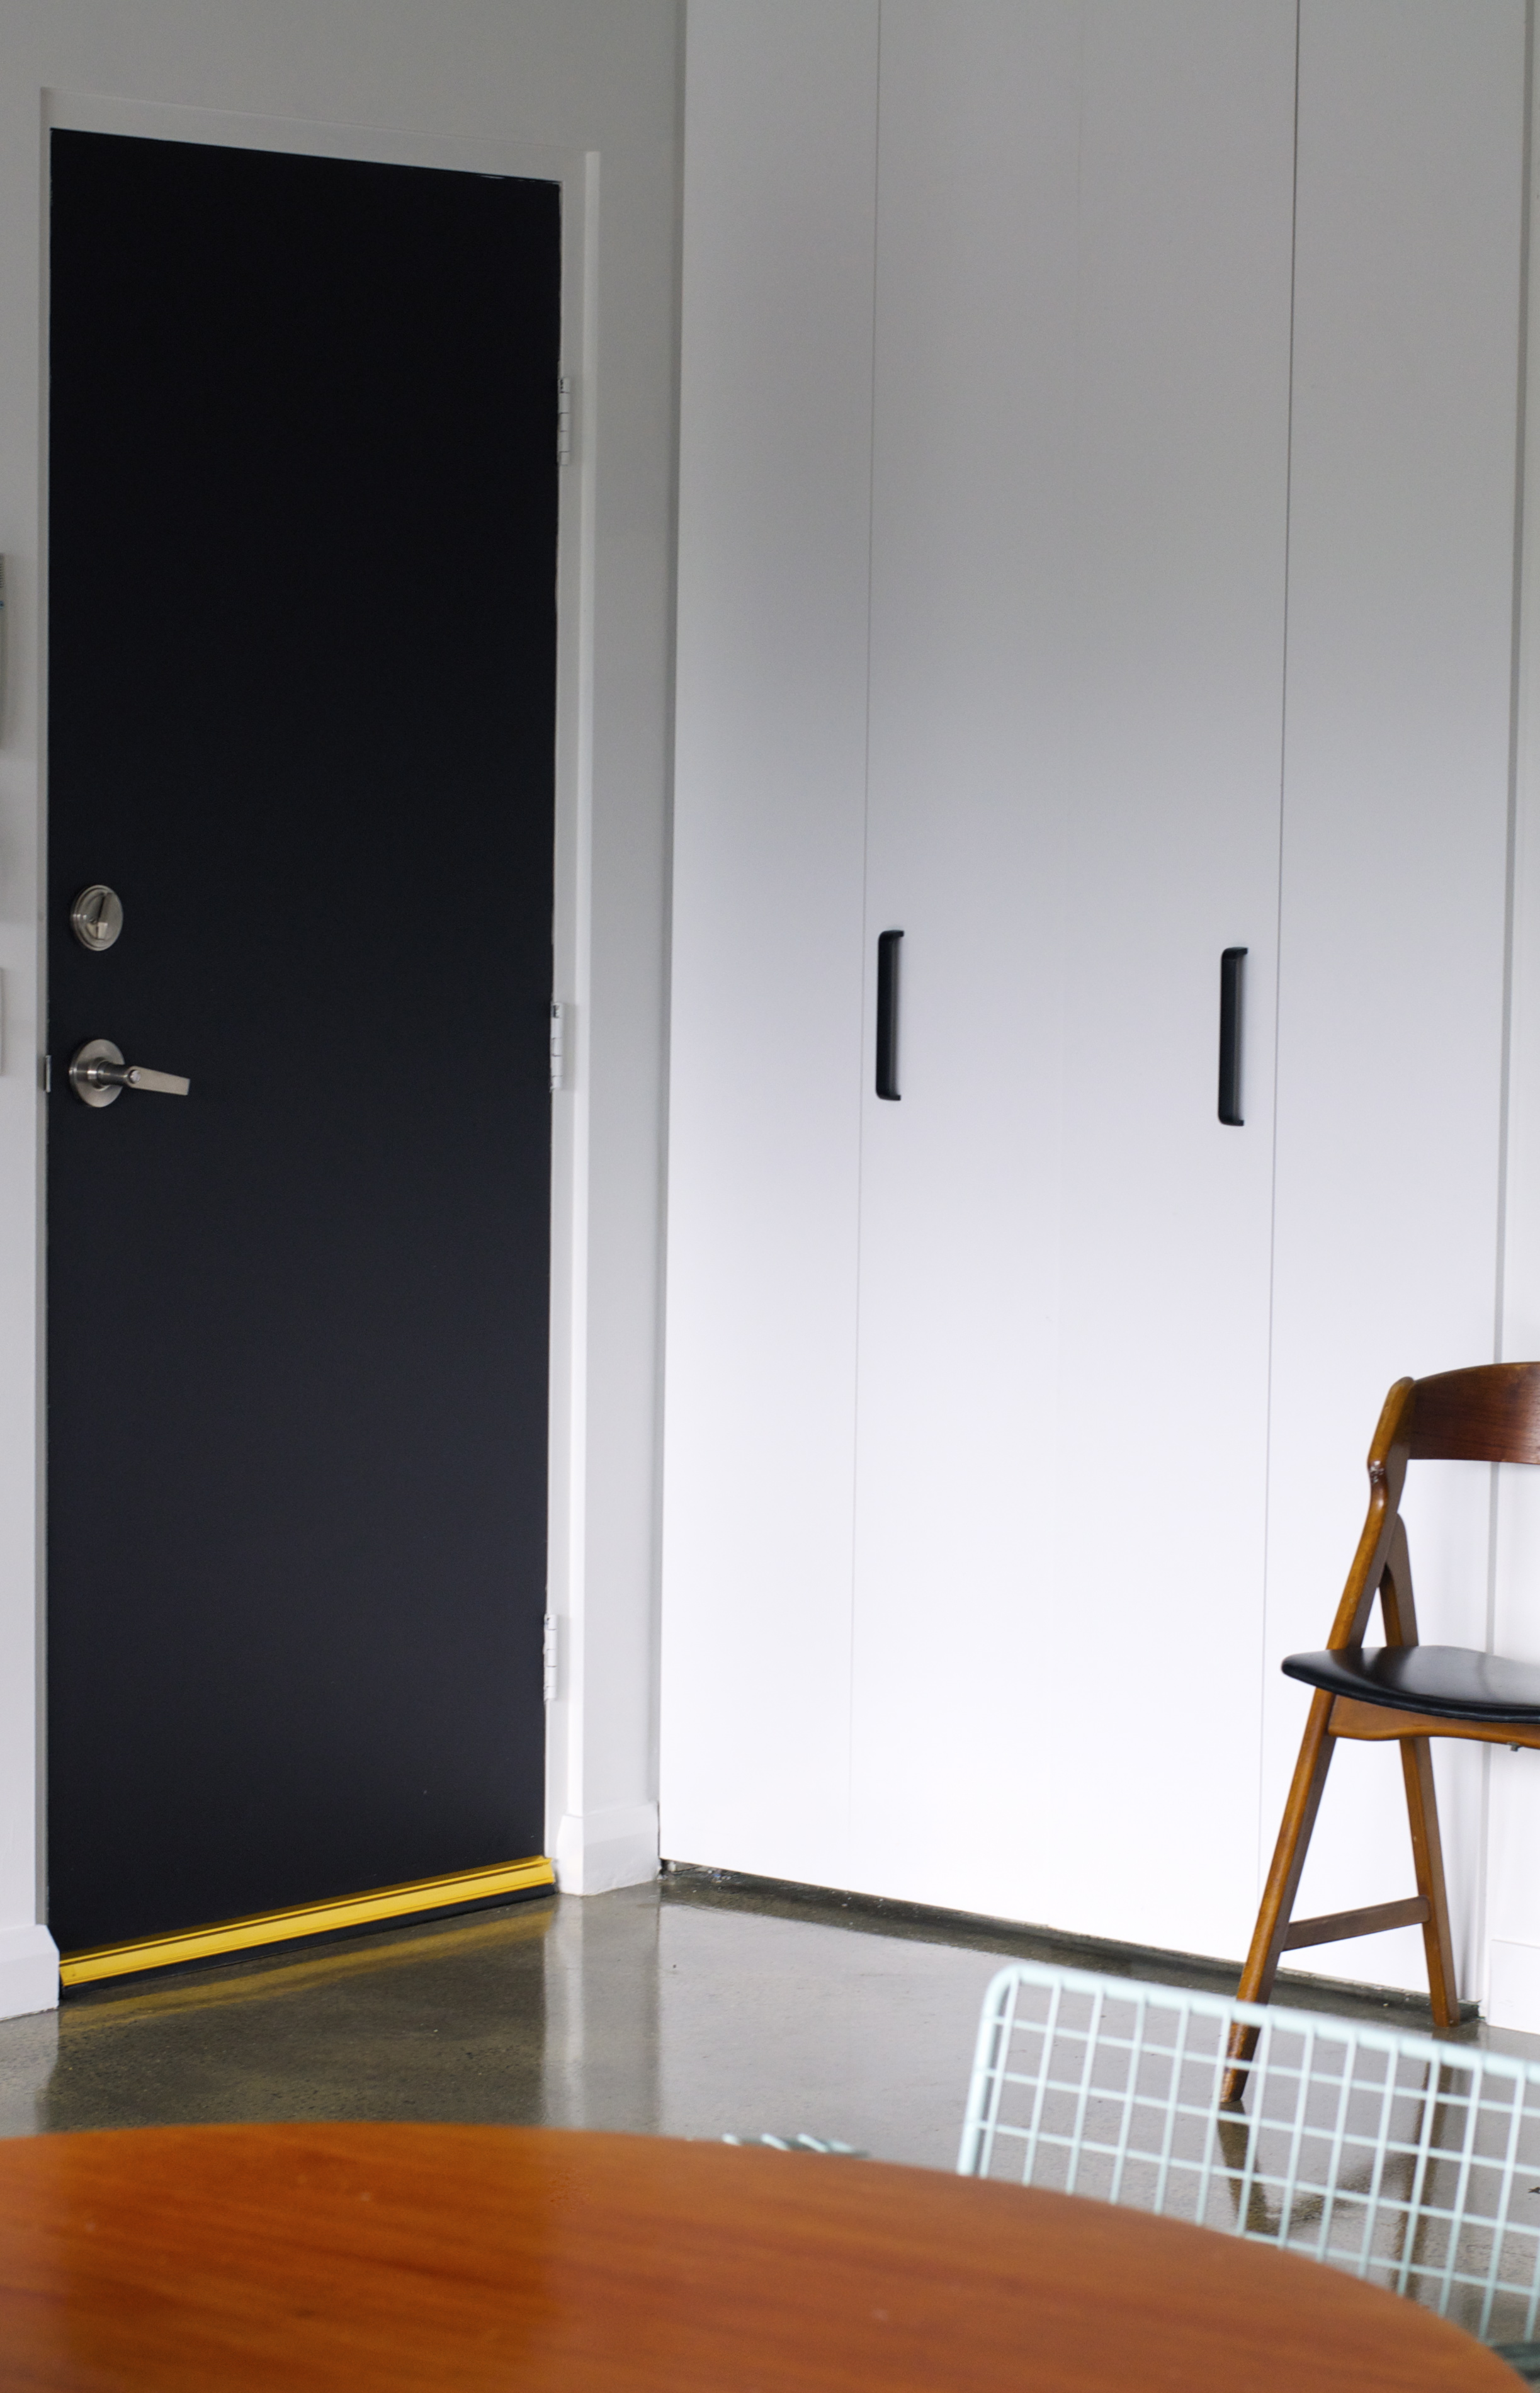
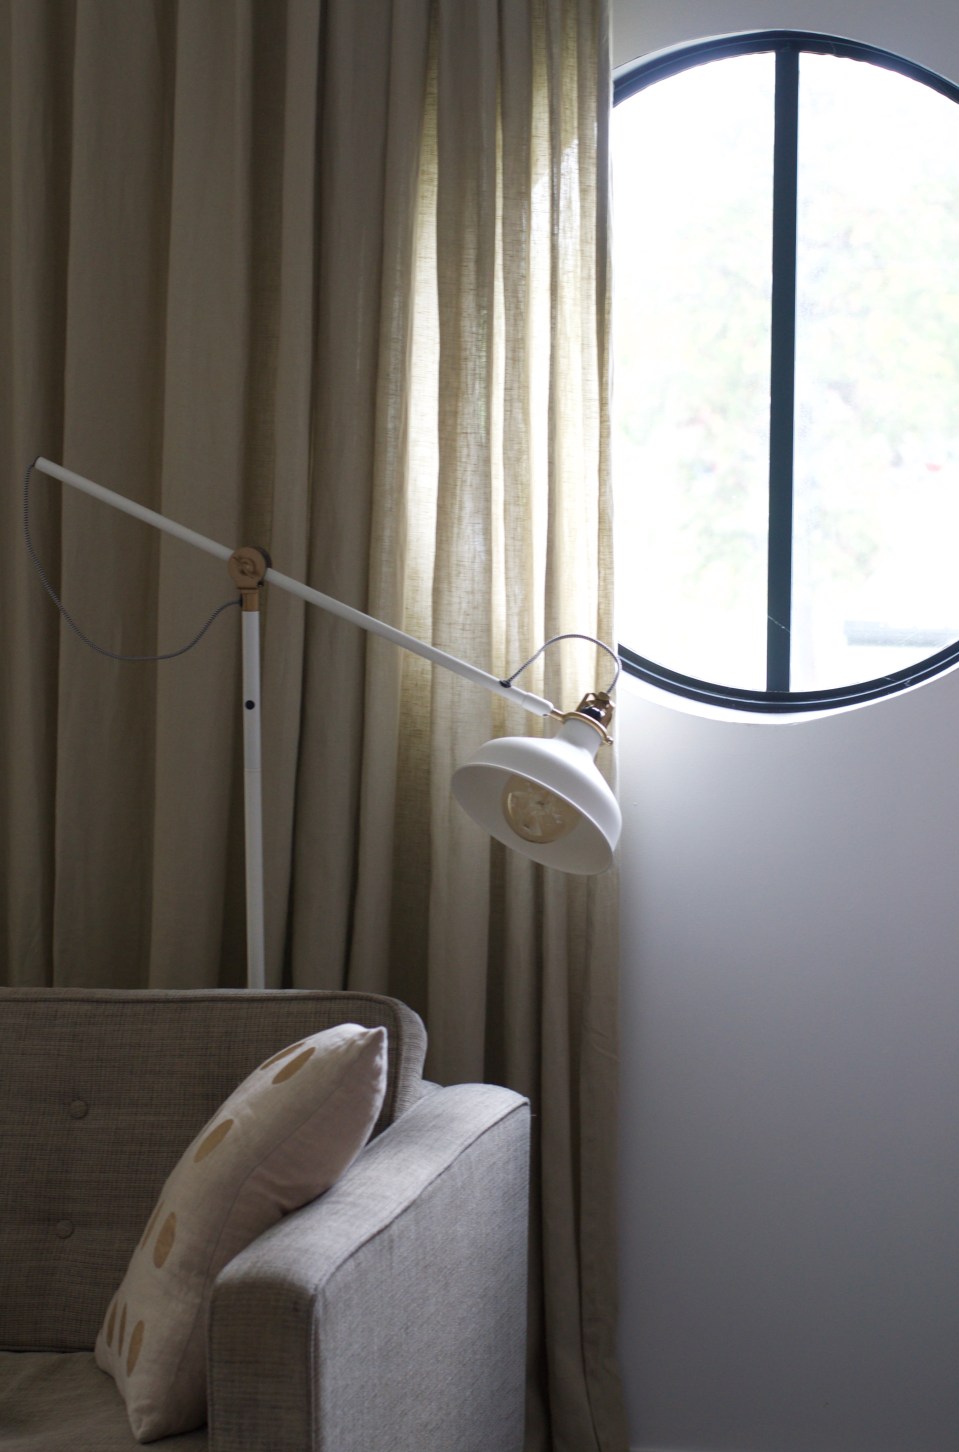
after
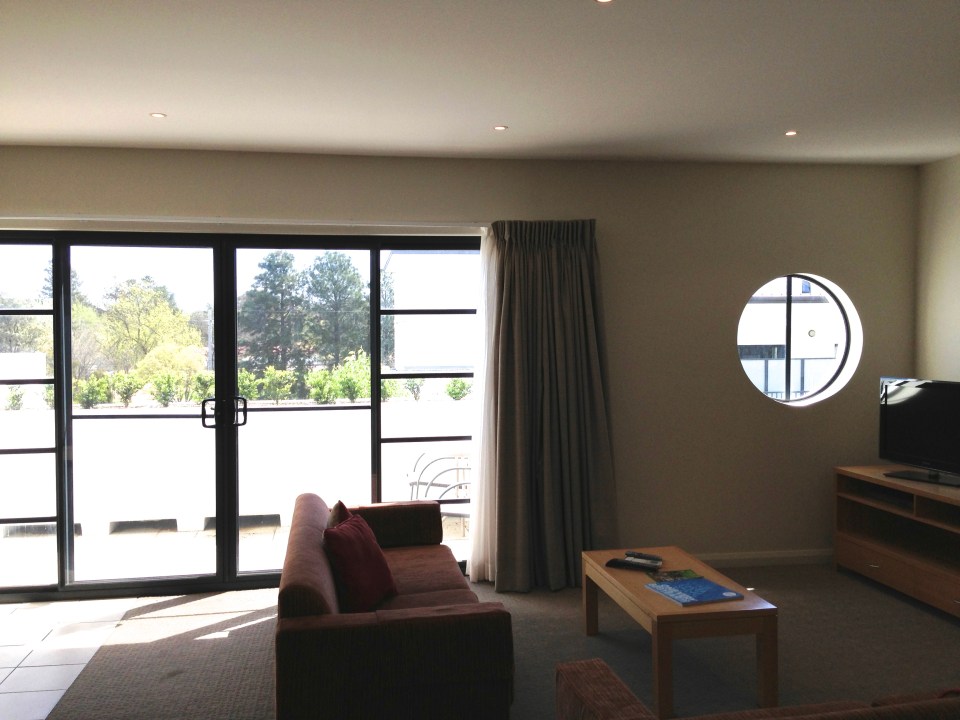
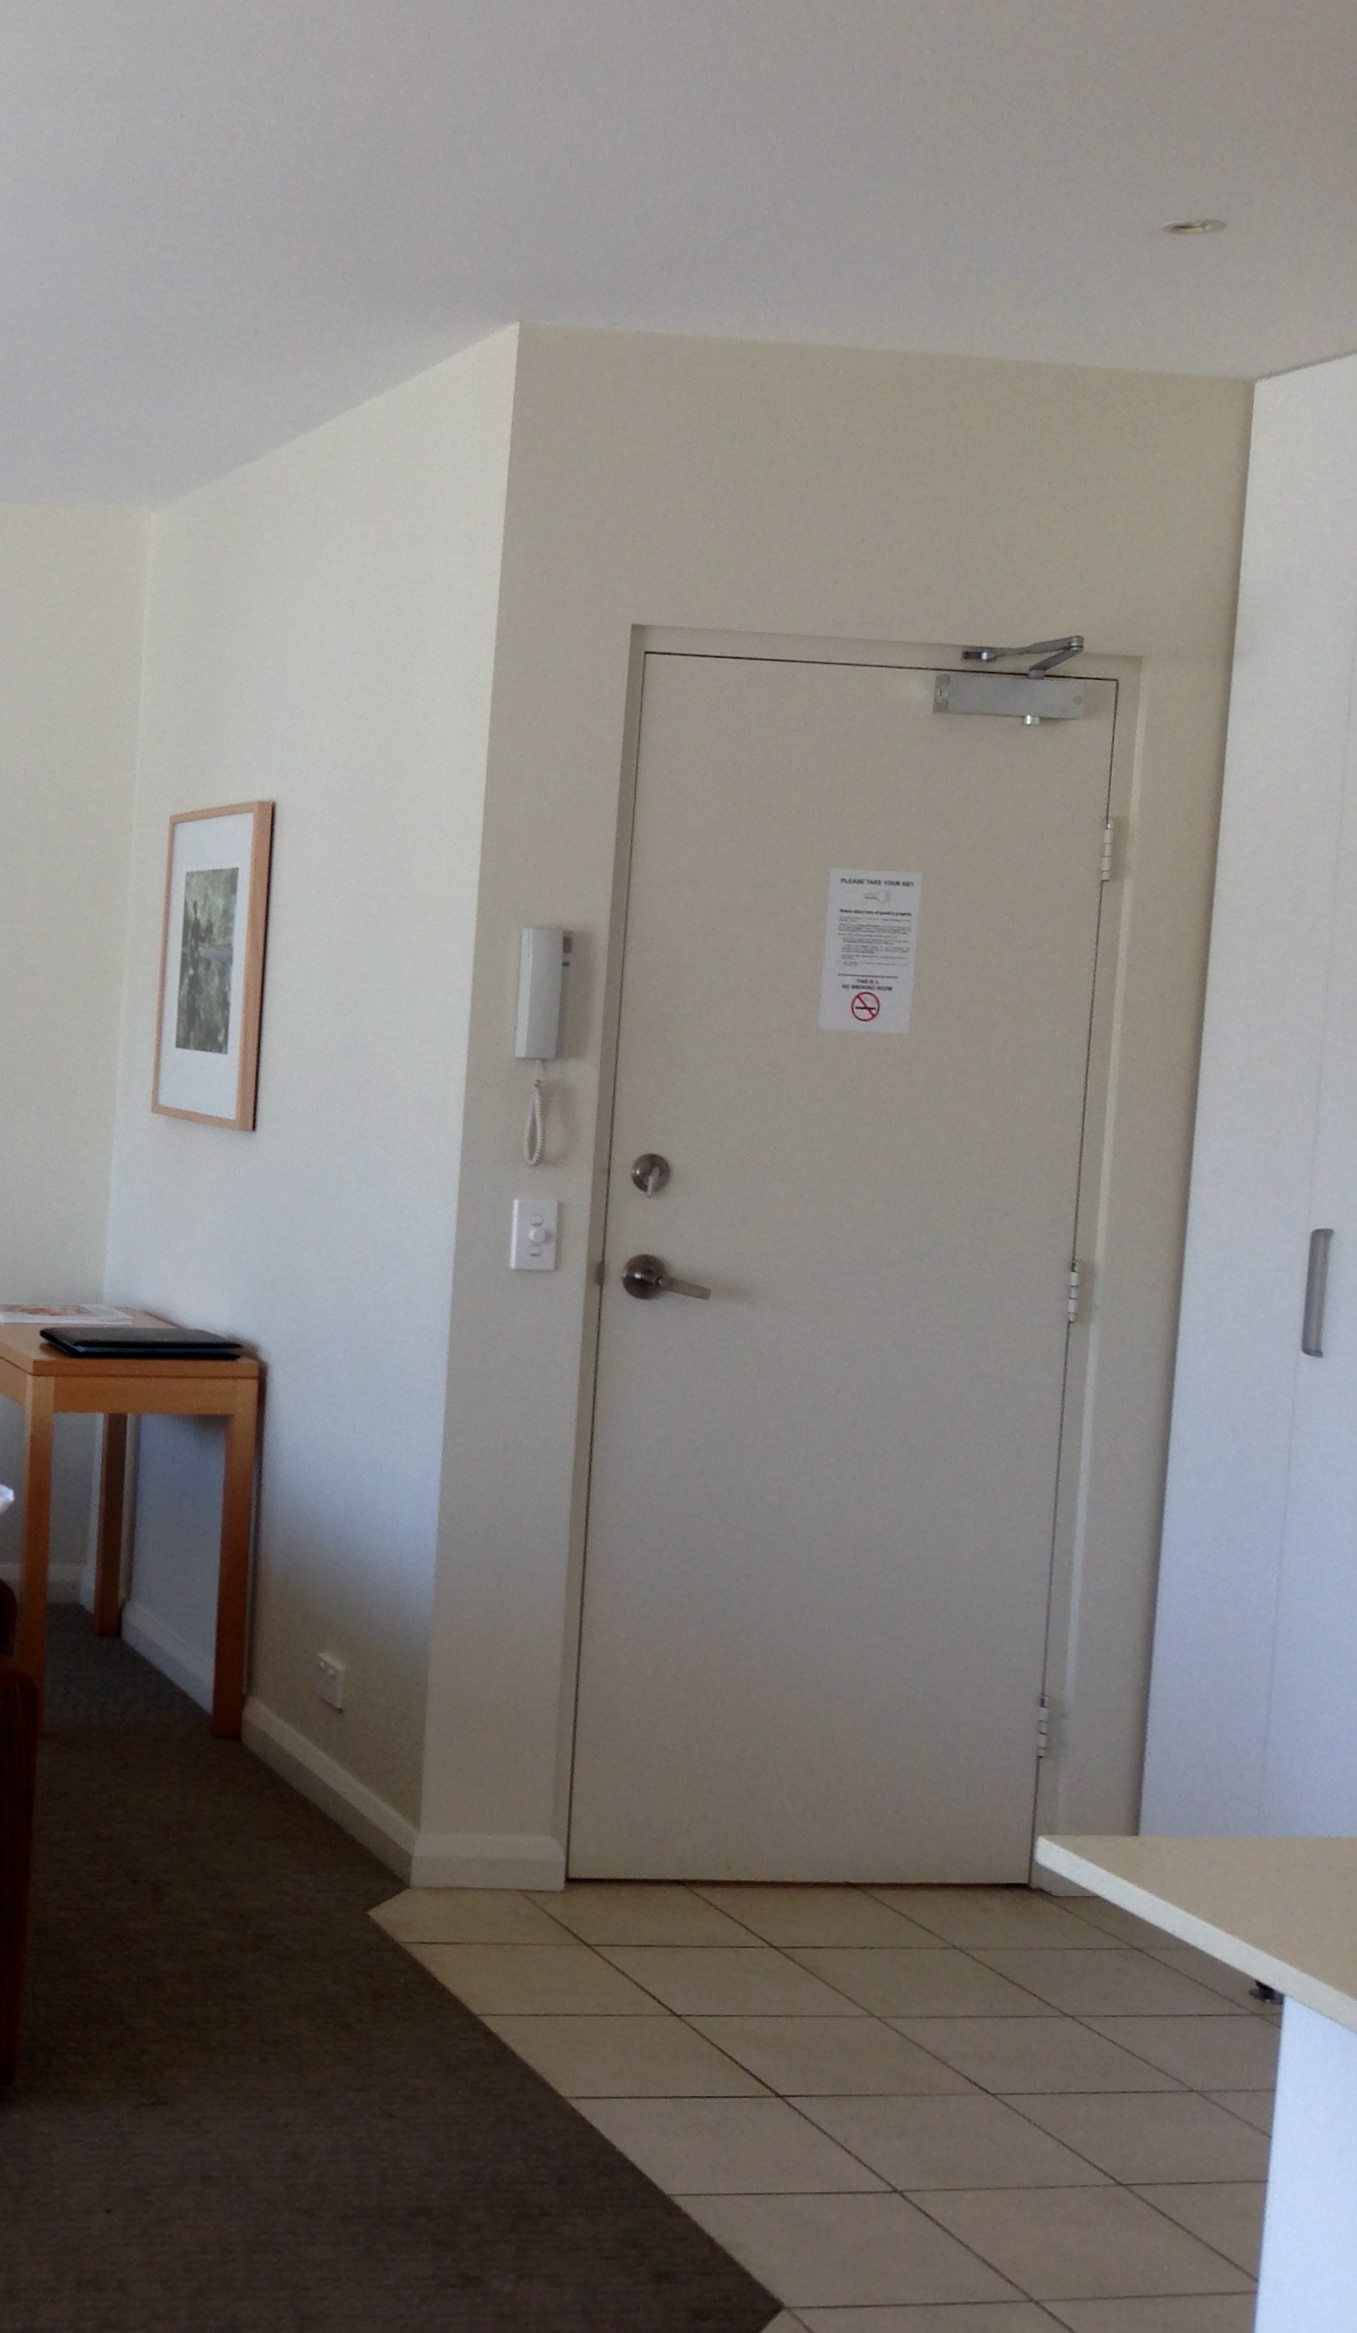
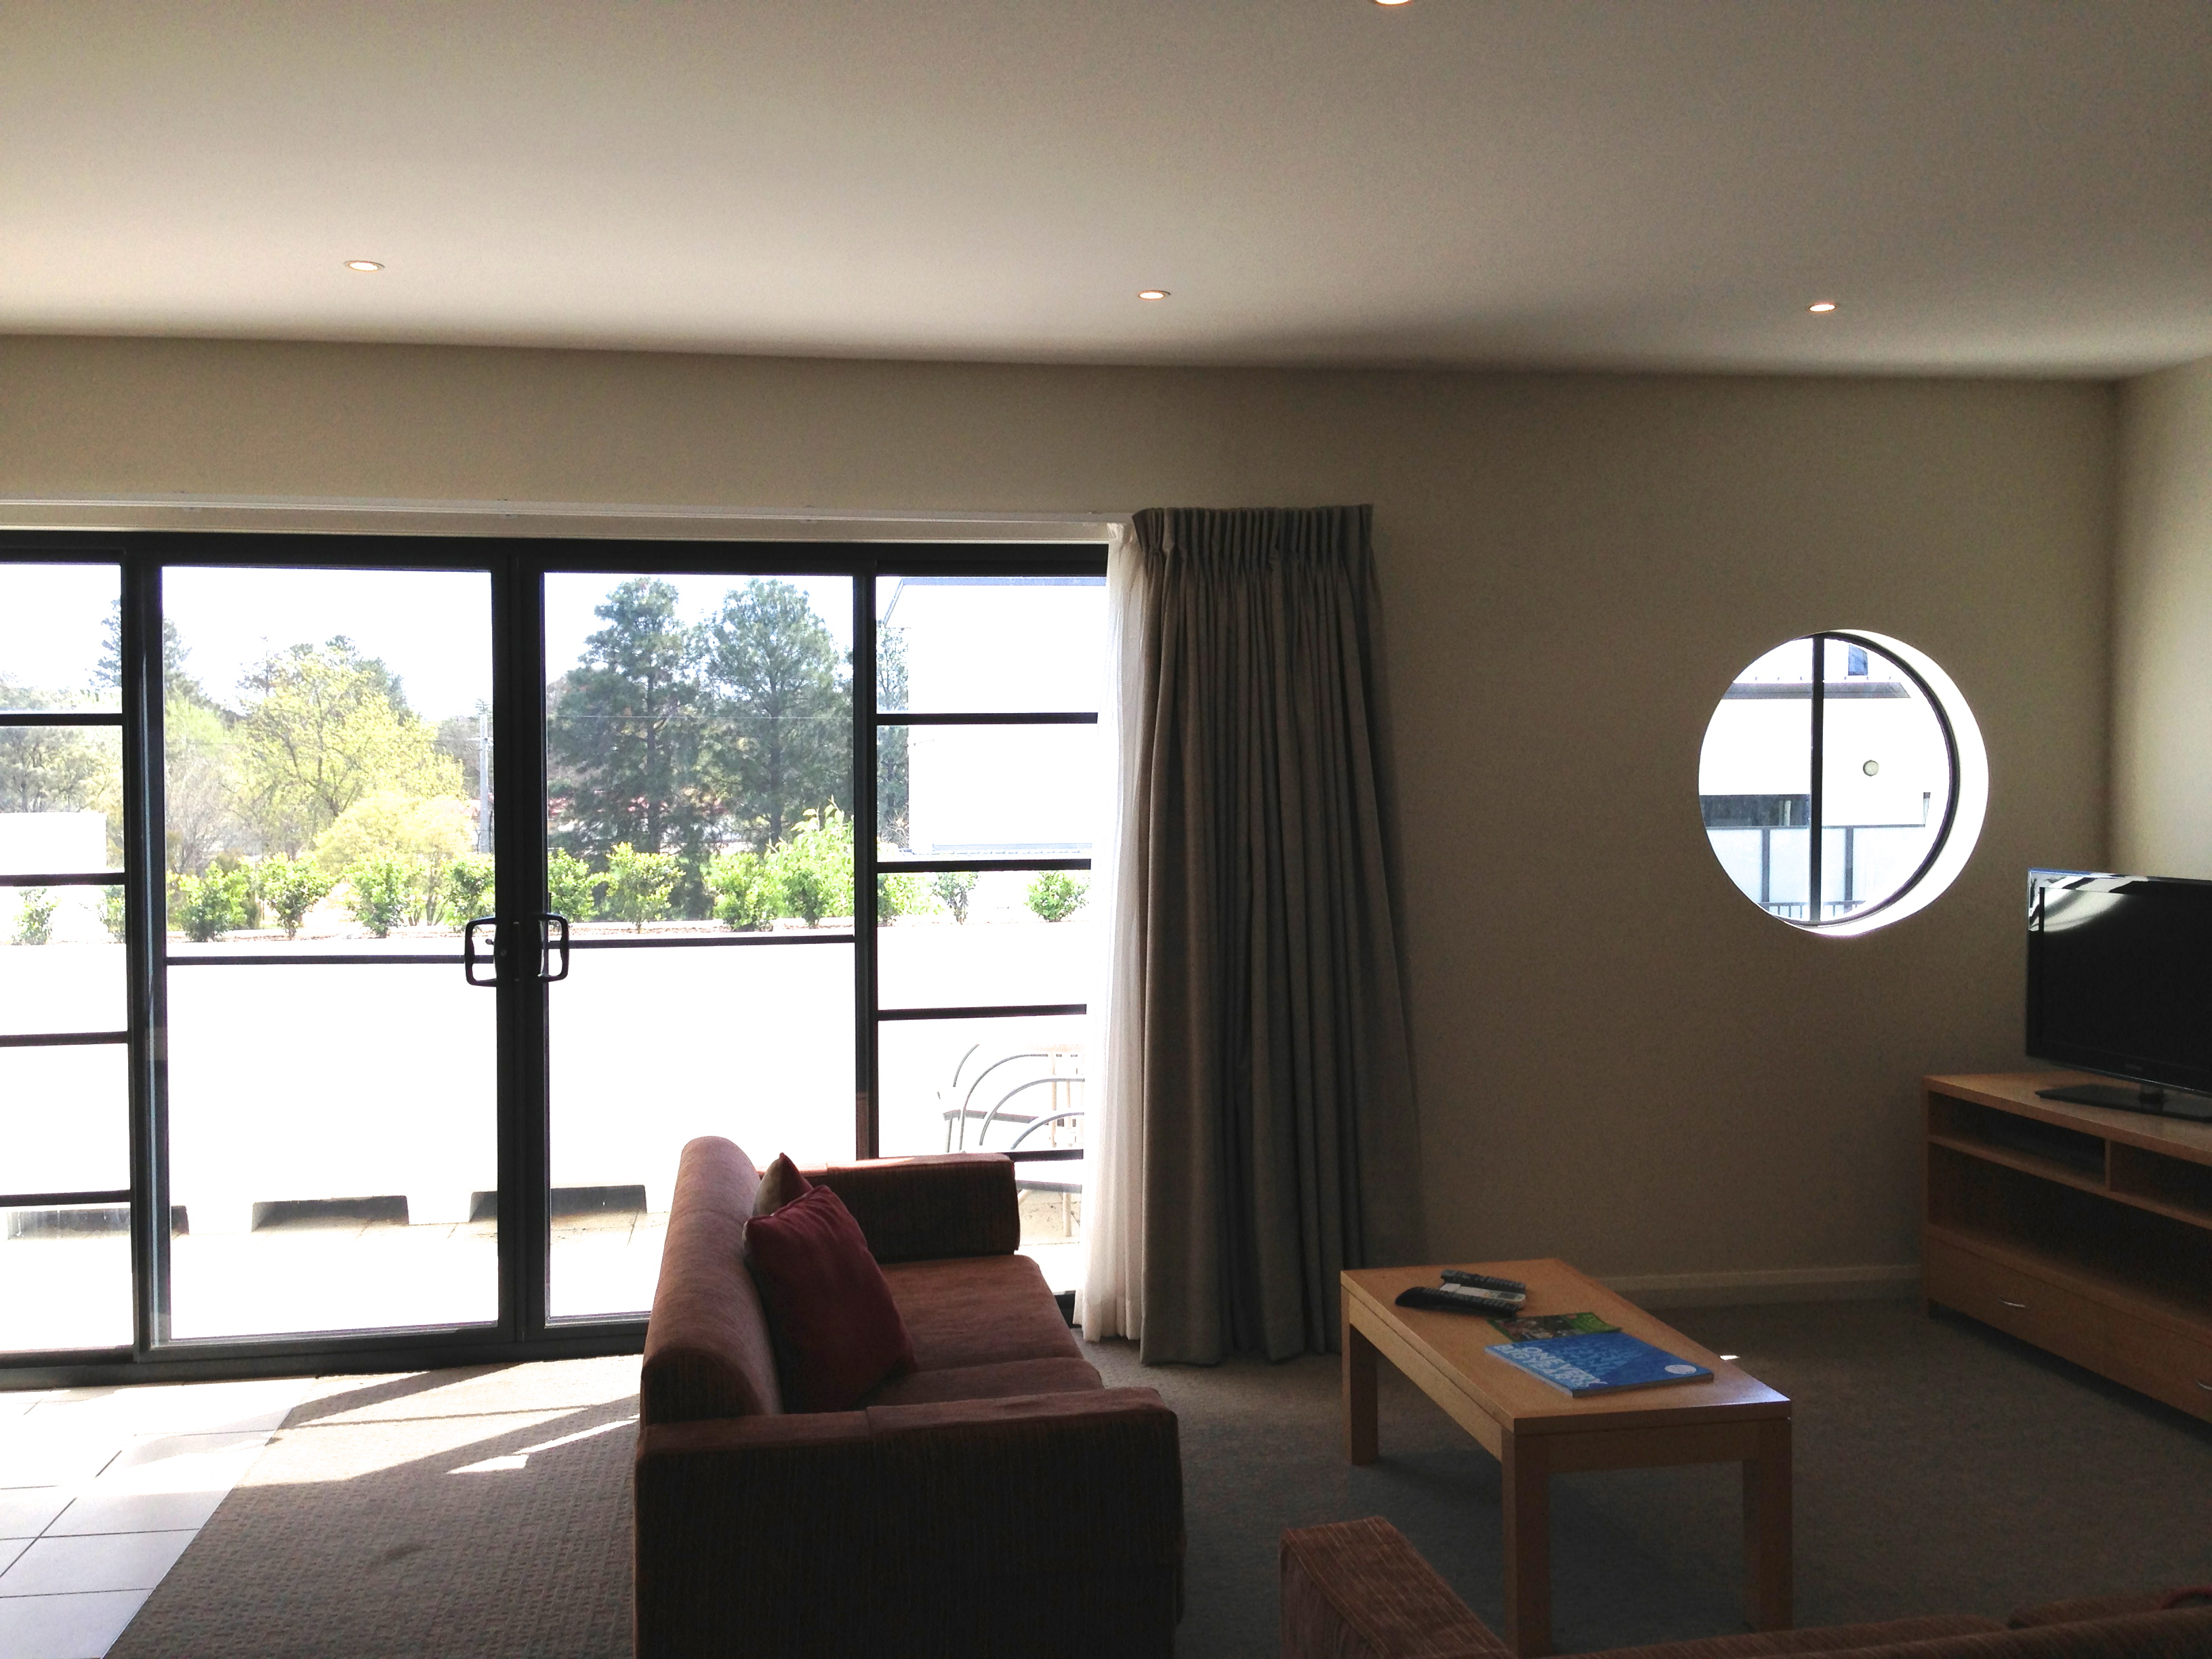
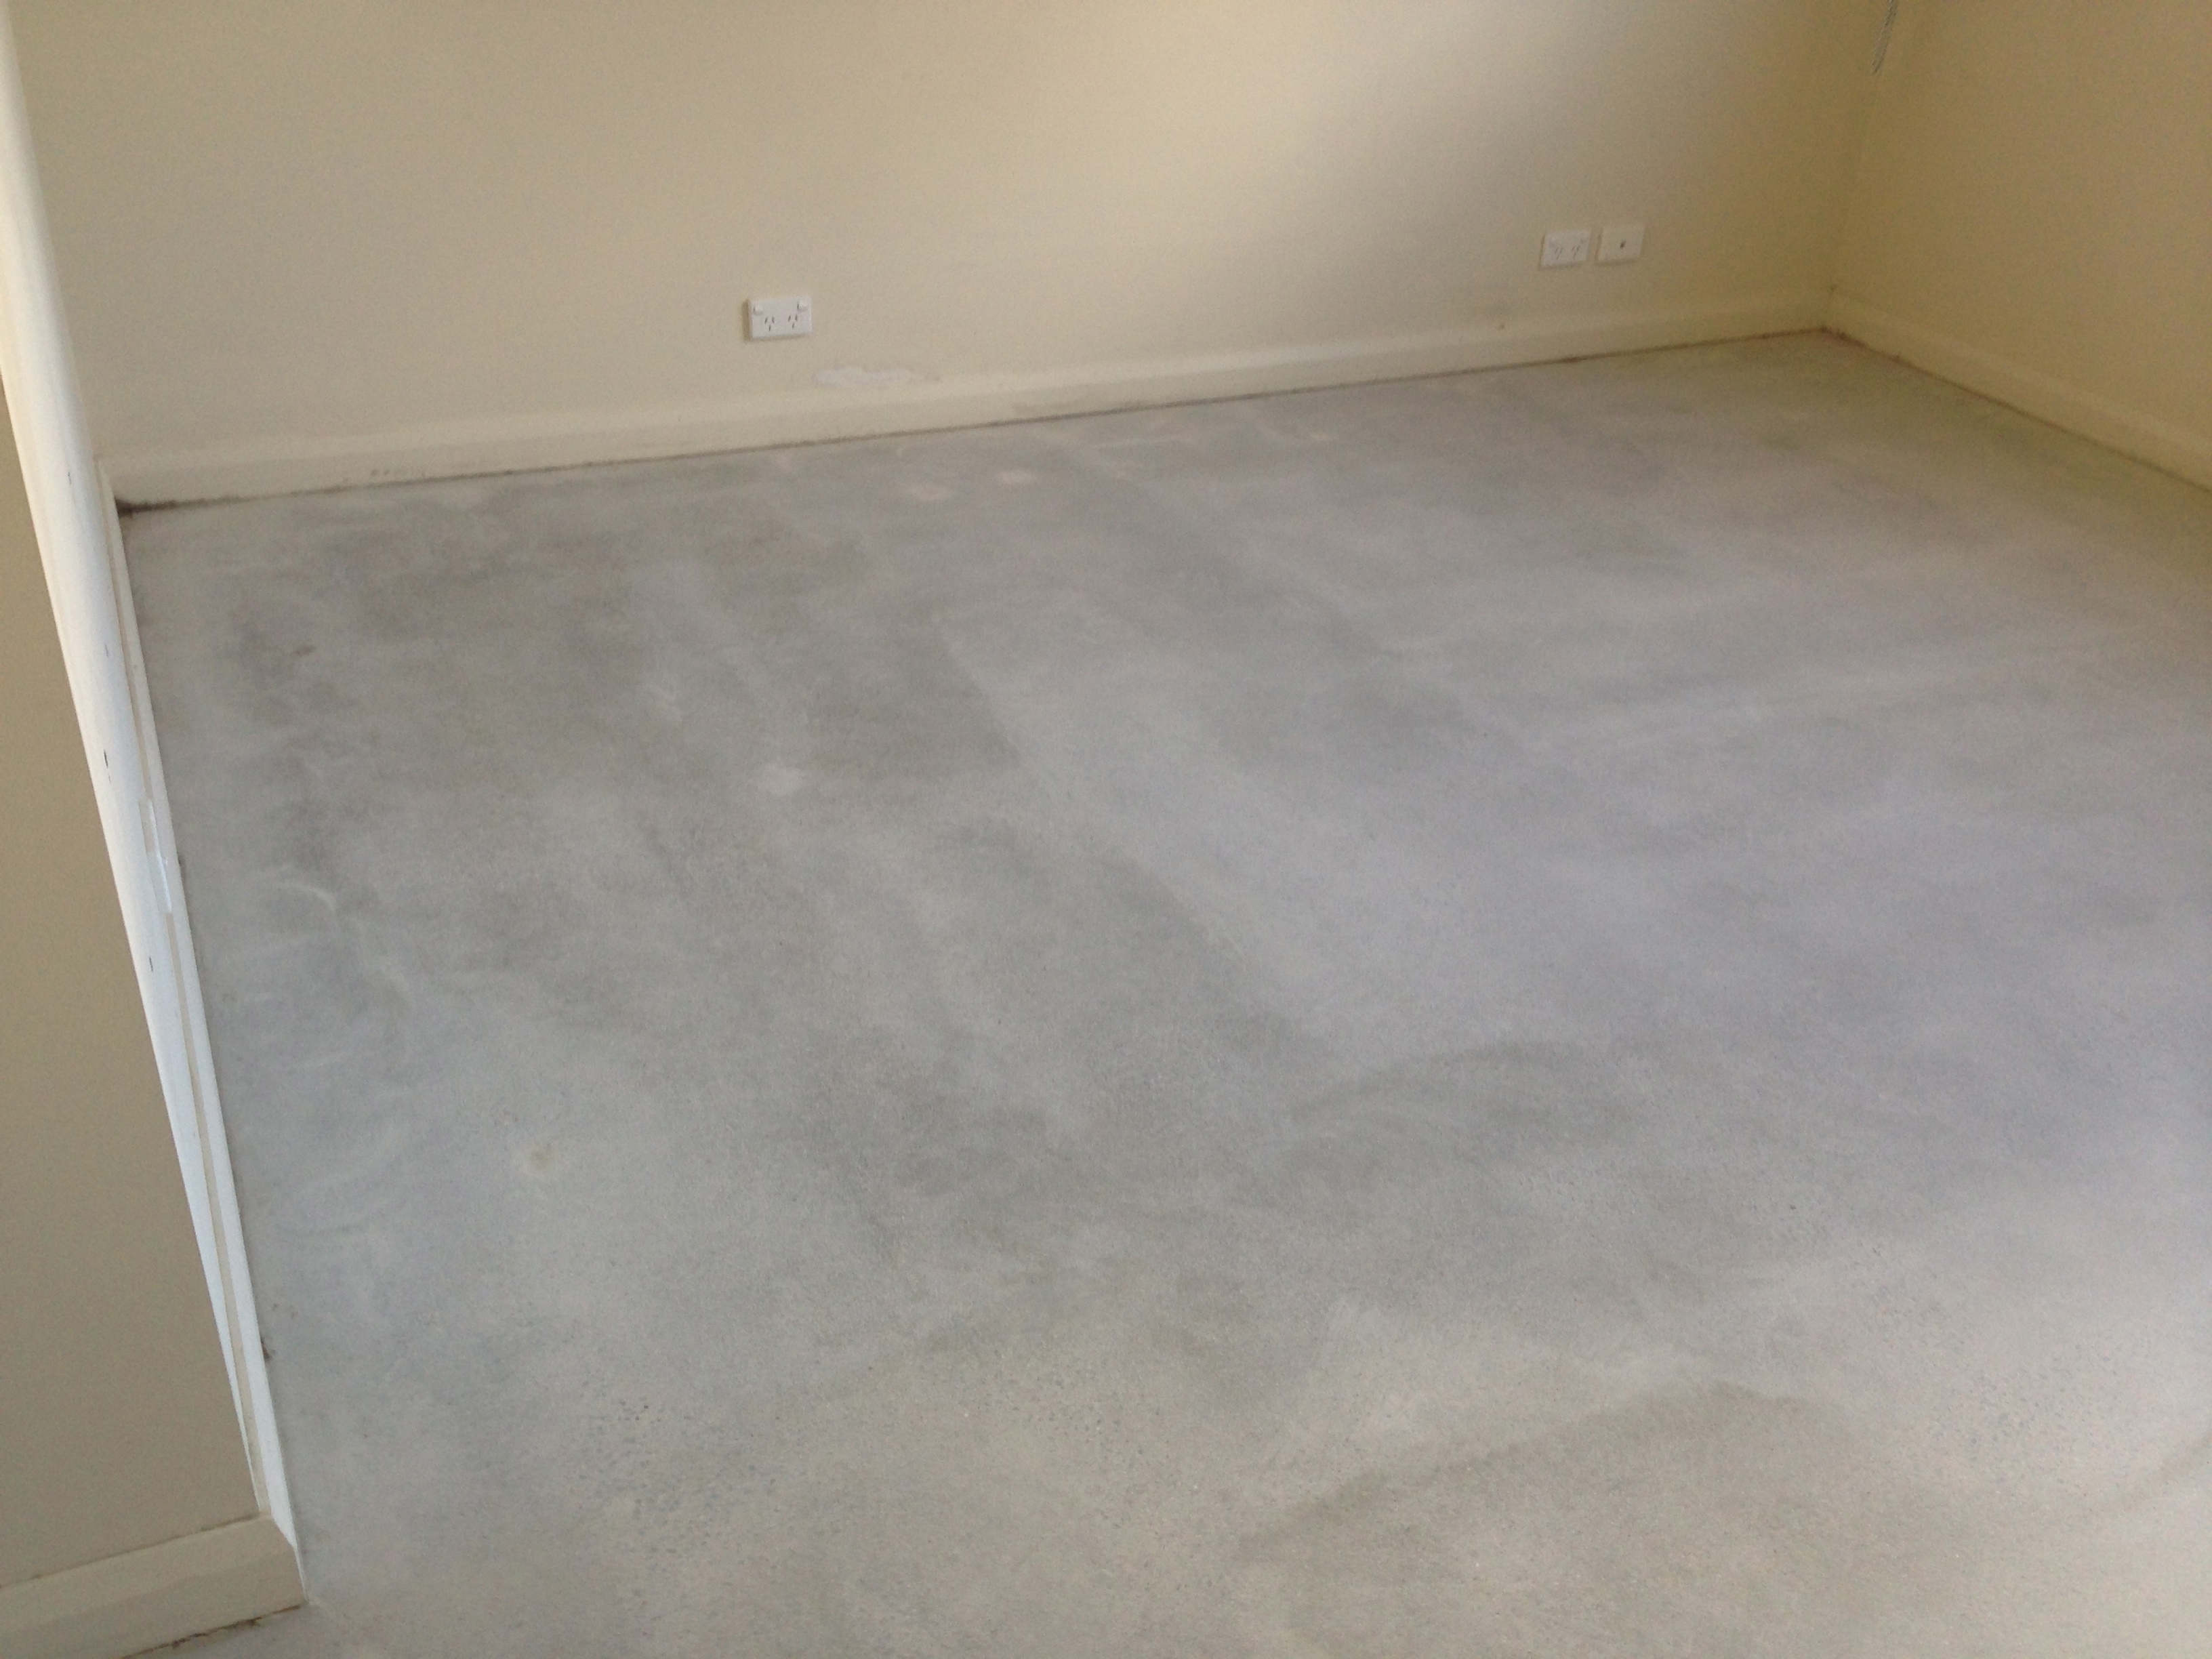
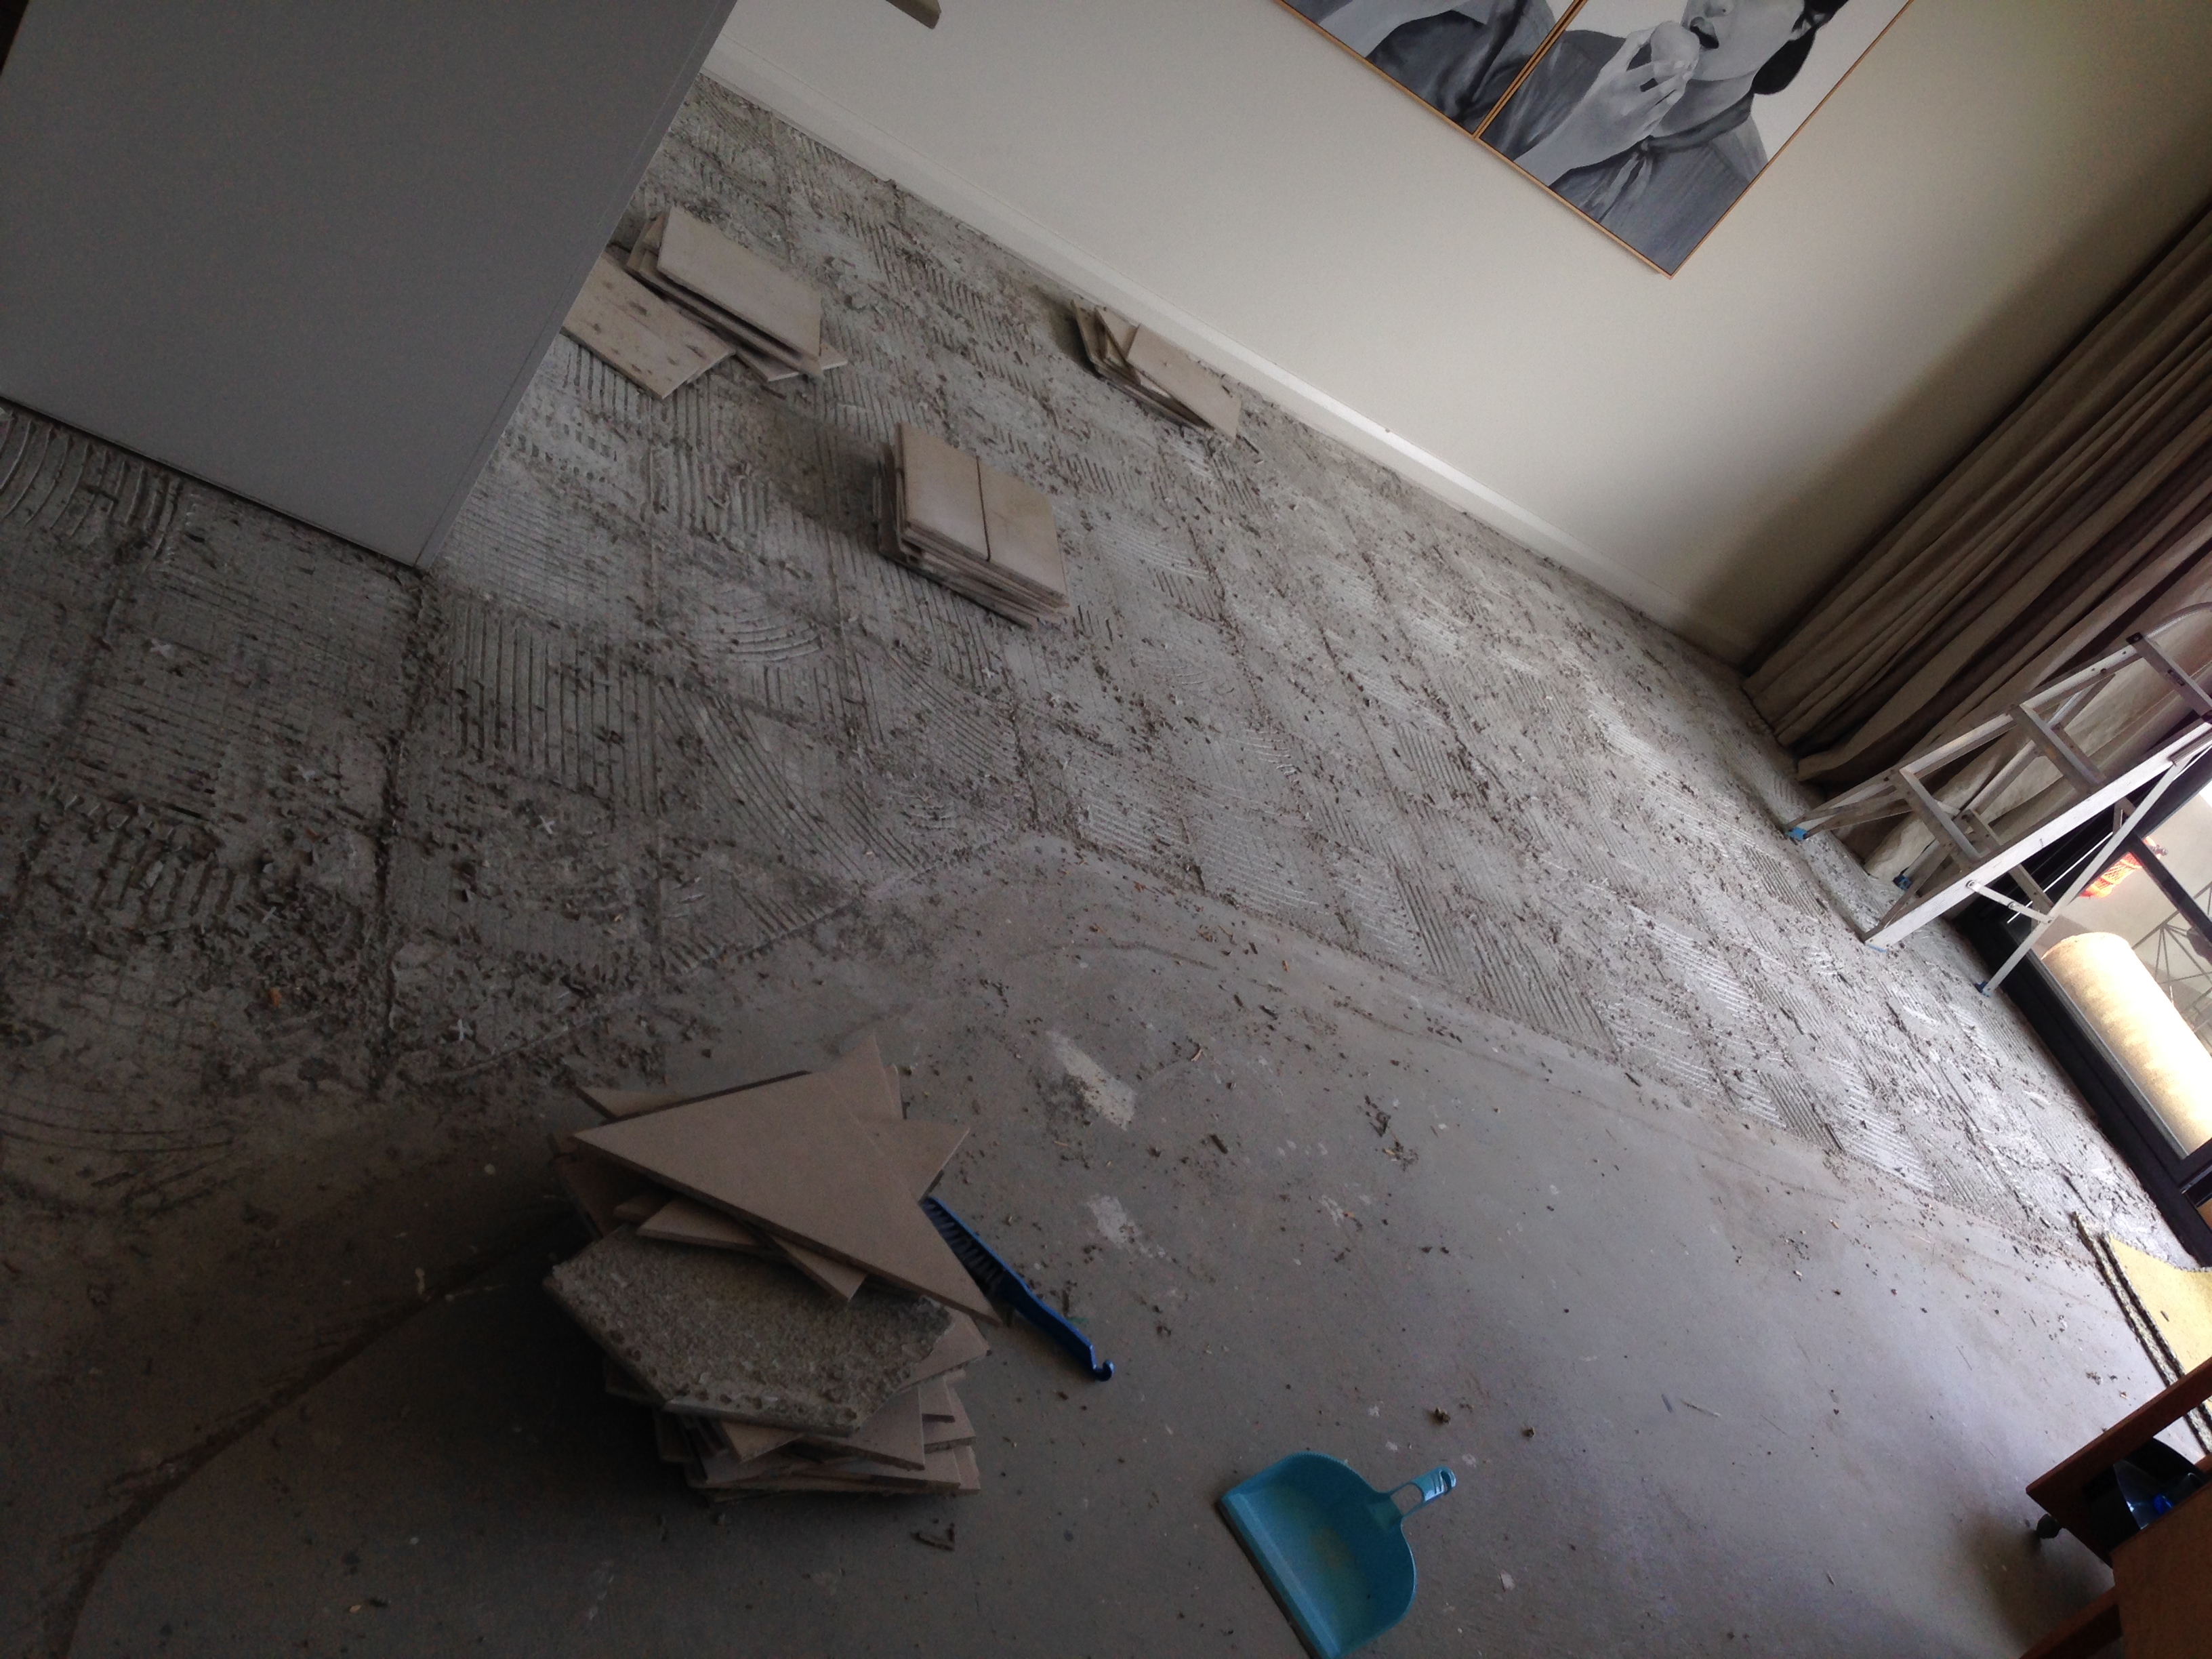
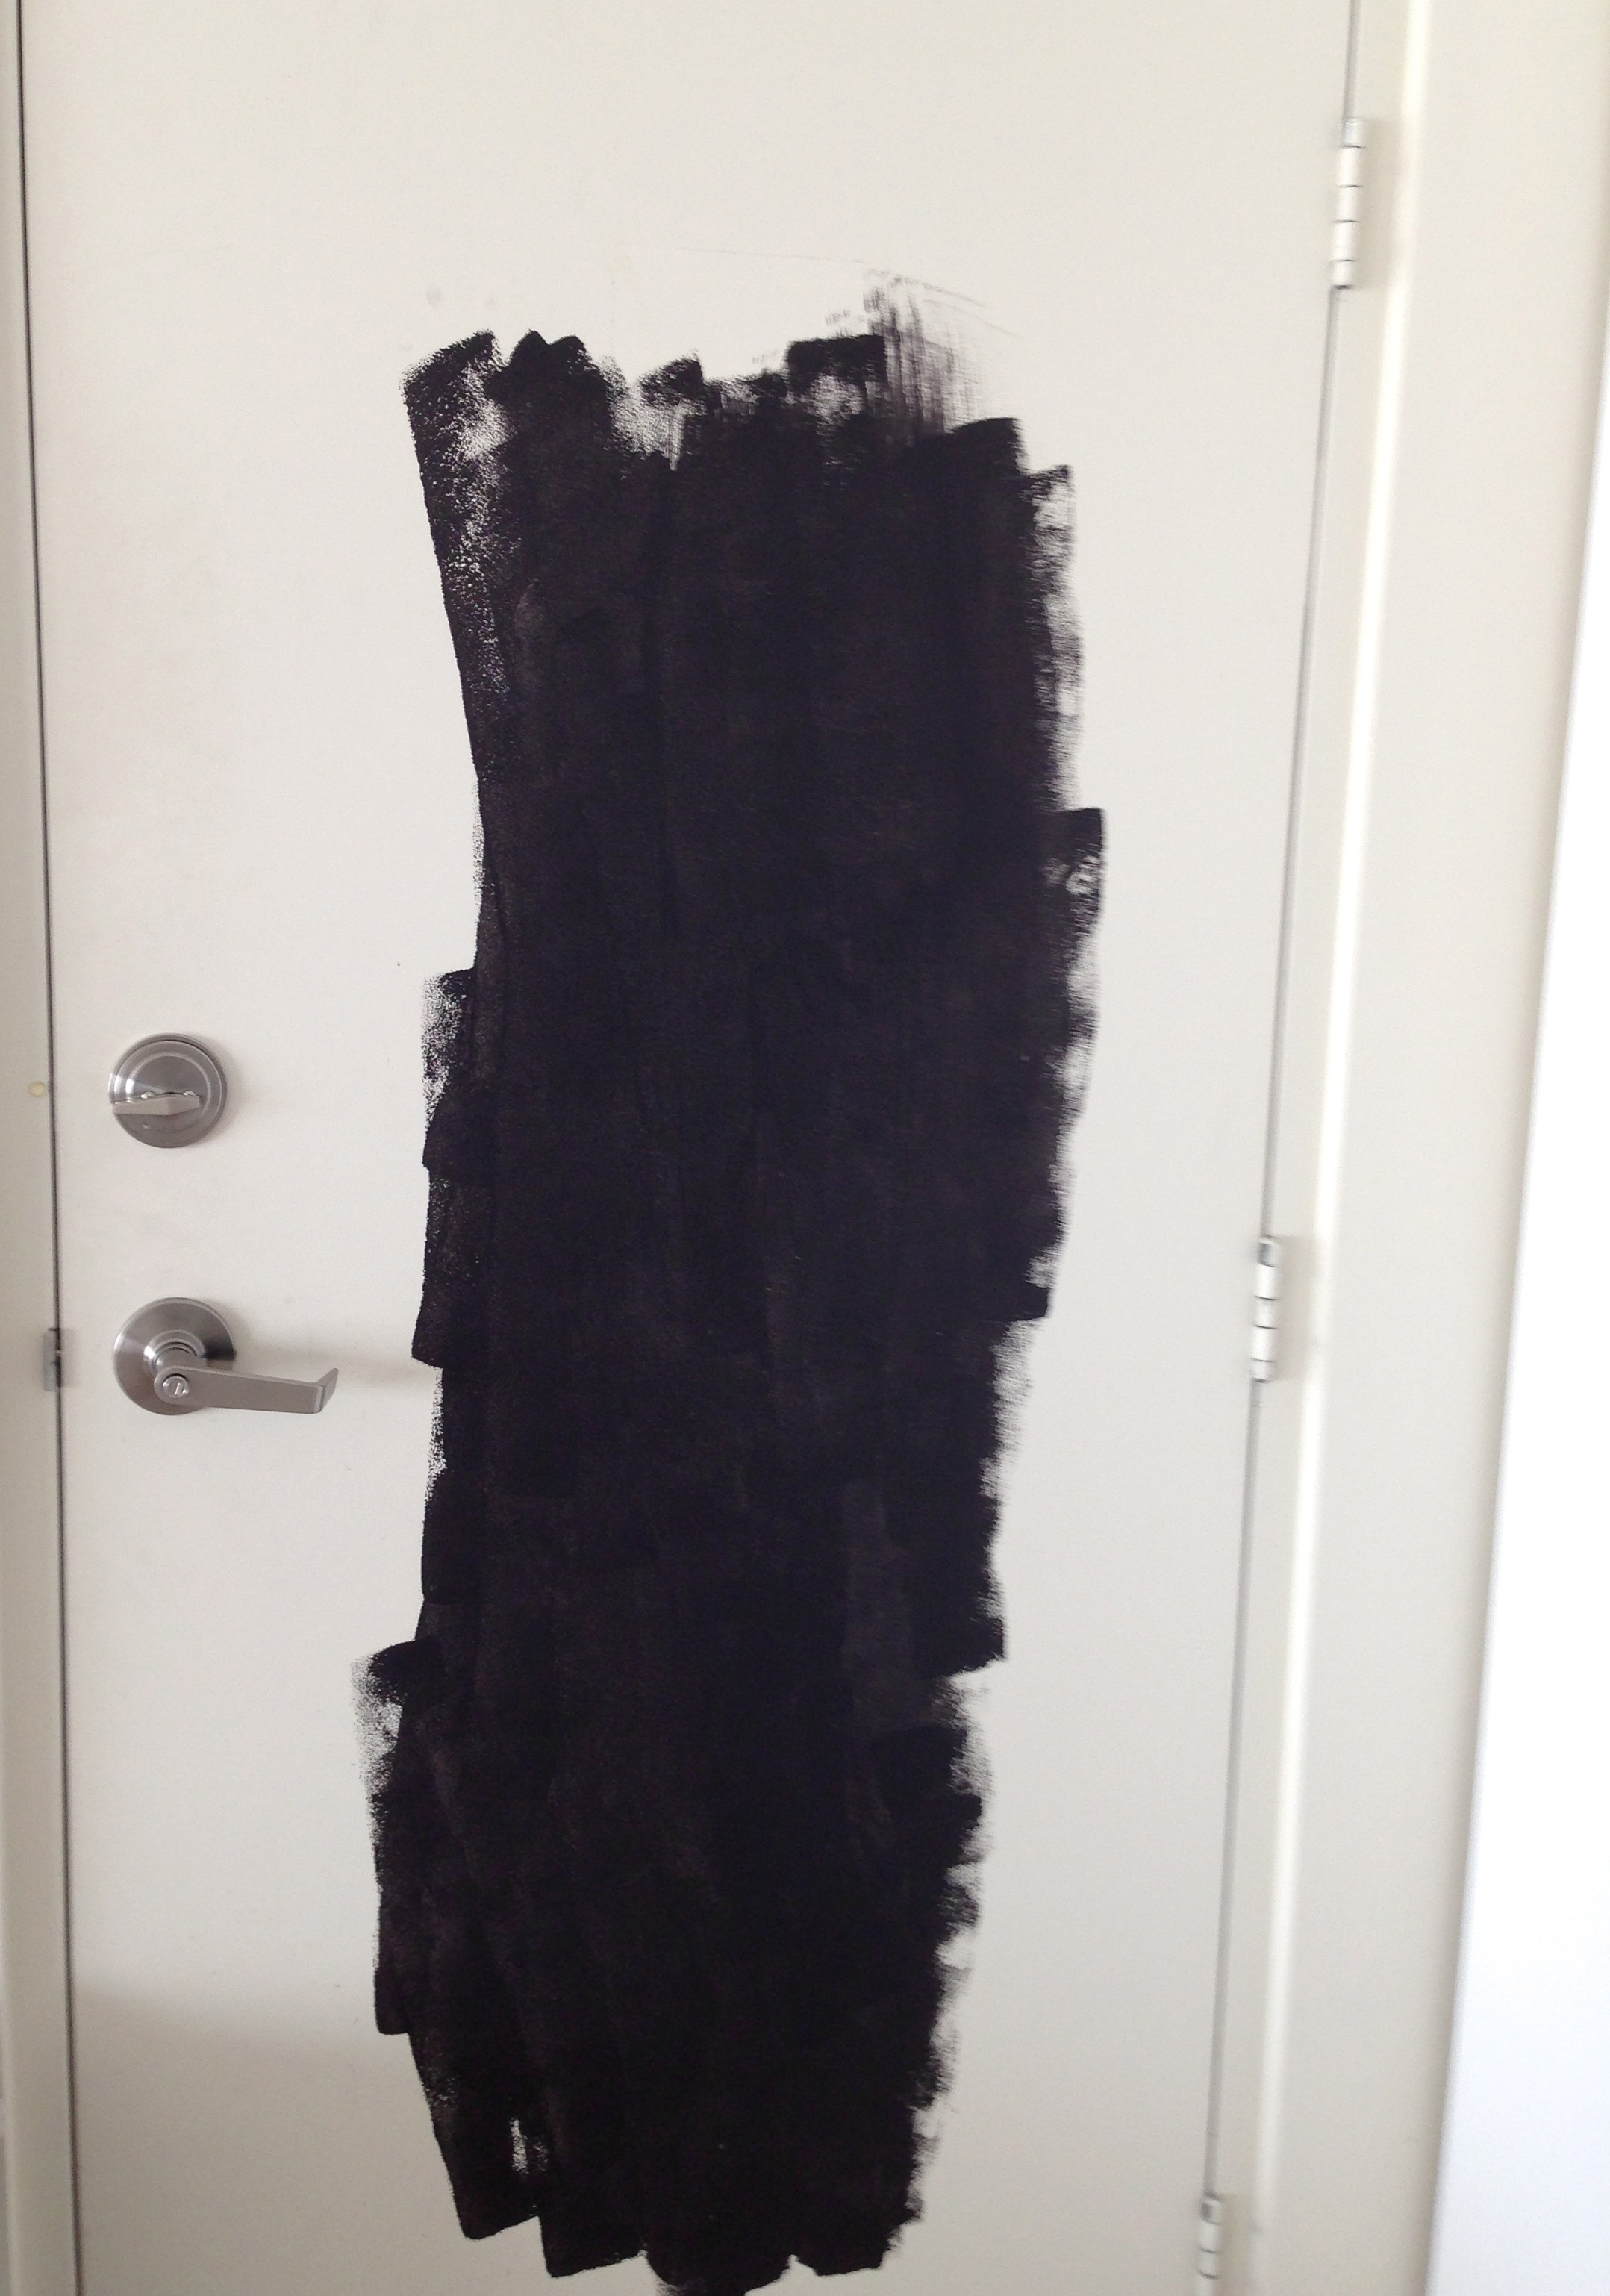
before
Two more little things I want to mention about the windows. The first is the metal lines across the doors leading to the balcony. The apartment has great windows with black lines across the glass (they echo the Very On Trend black metal windows look, if you squint). But strangely the metal lines did not go all the way across the doors (look carefully at the ‘before’ picture above). So I bought some metal from the hardware store for about $8 and hacksawed it into pieces and hung it in the door frame in intervals to ‘fill the gaps’ so the black lines are continuous across the windows and doors (hard to explain – check out the pictures).
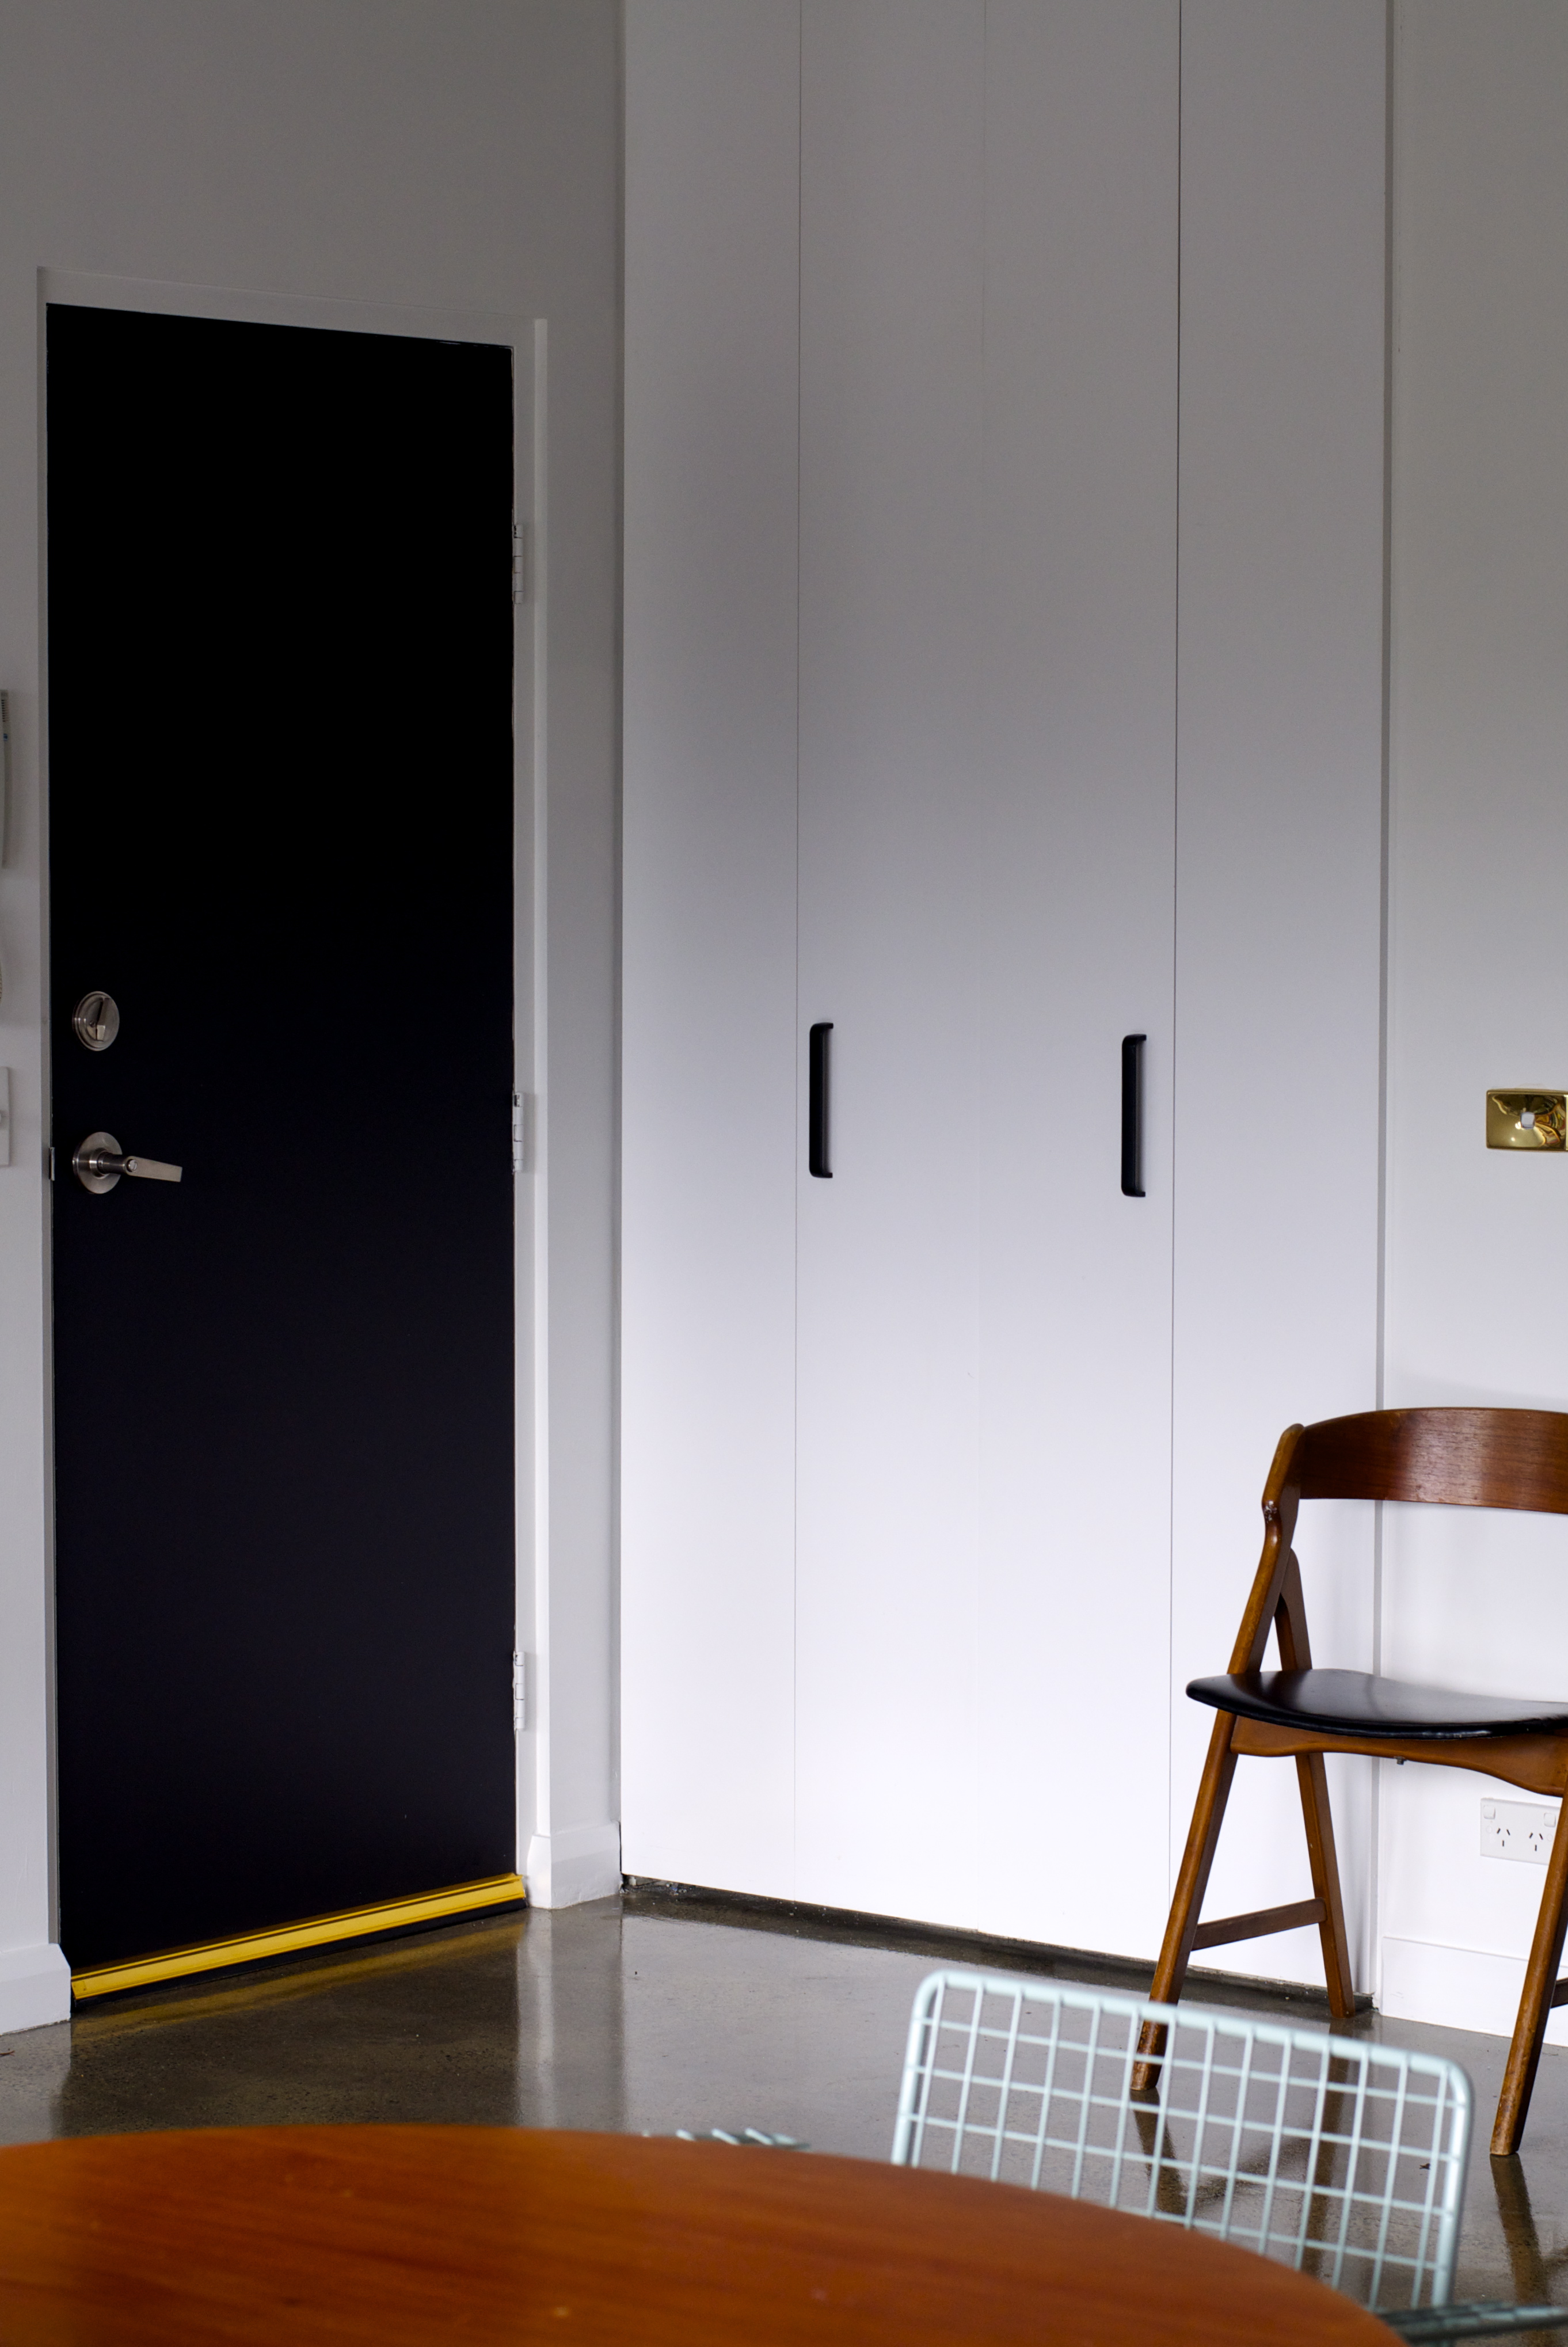
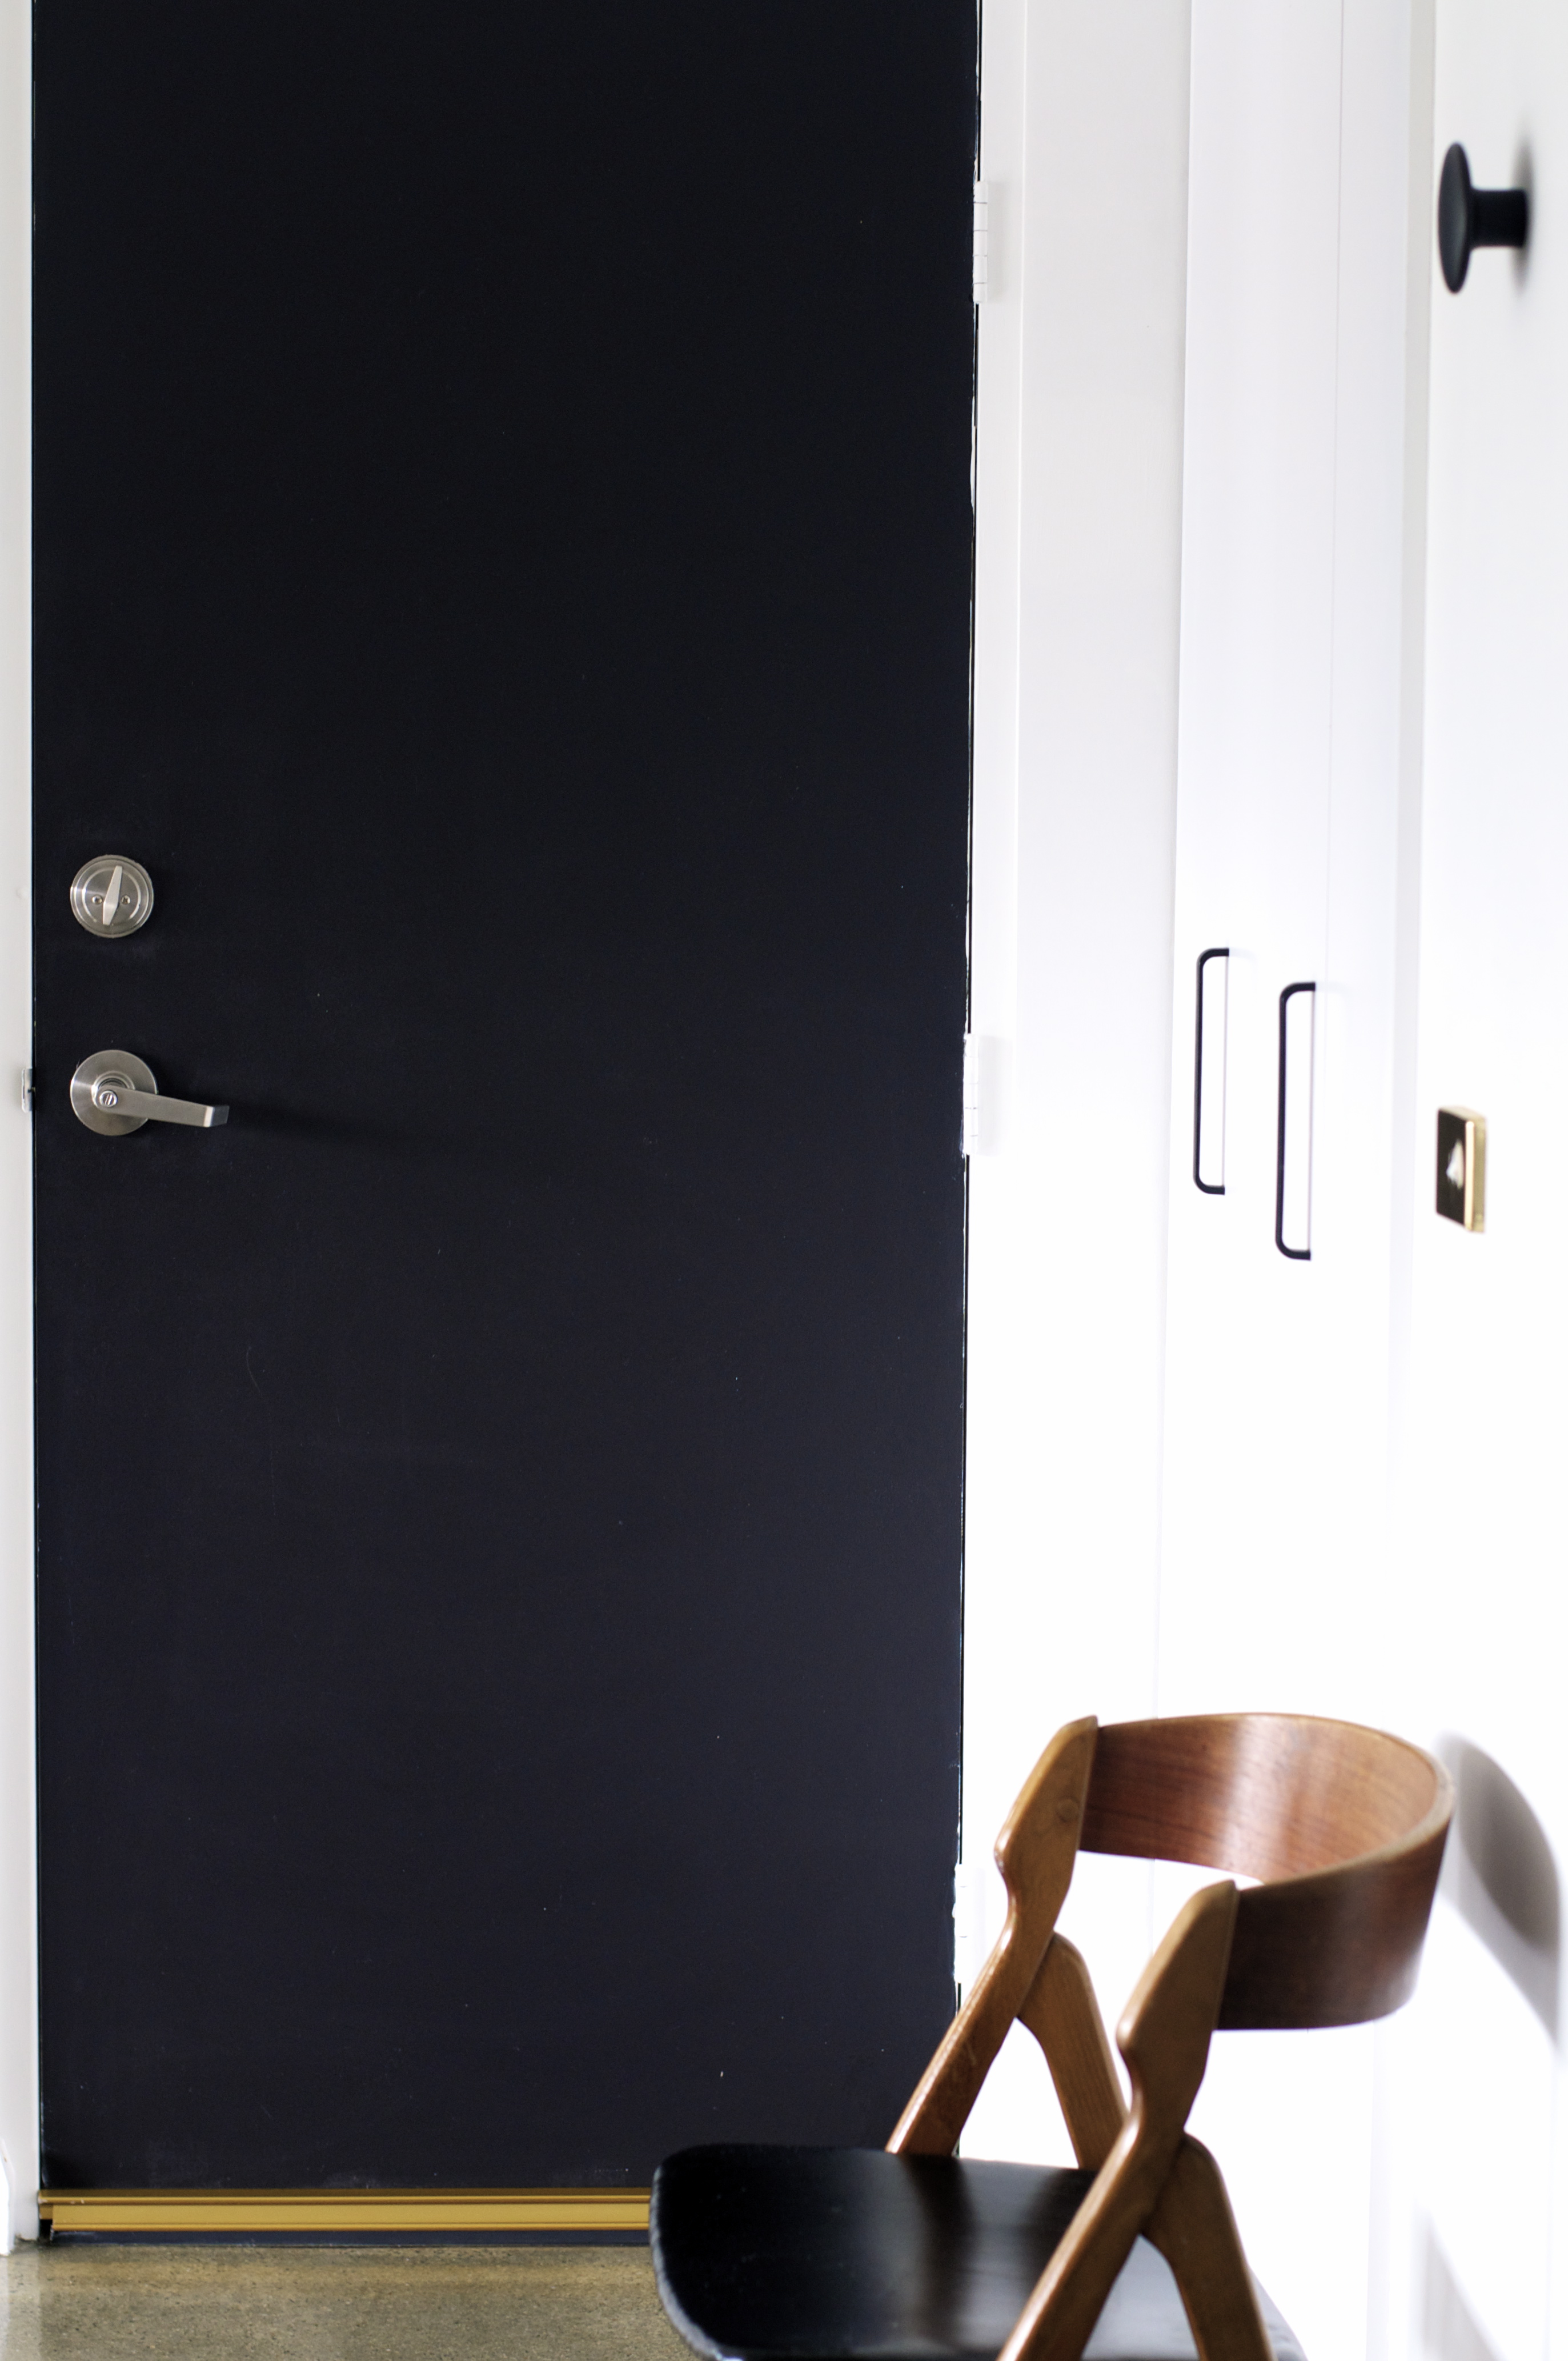
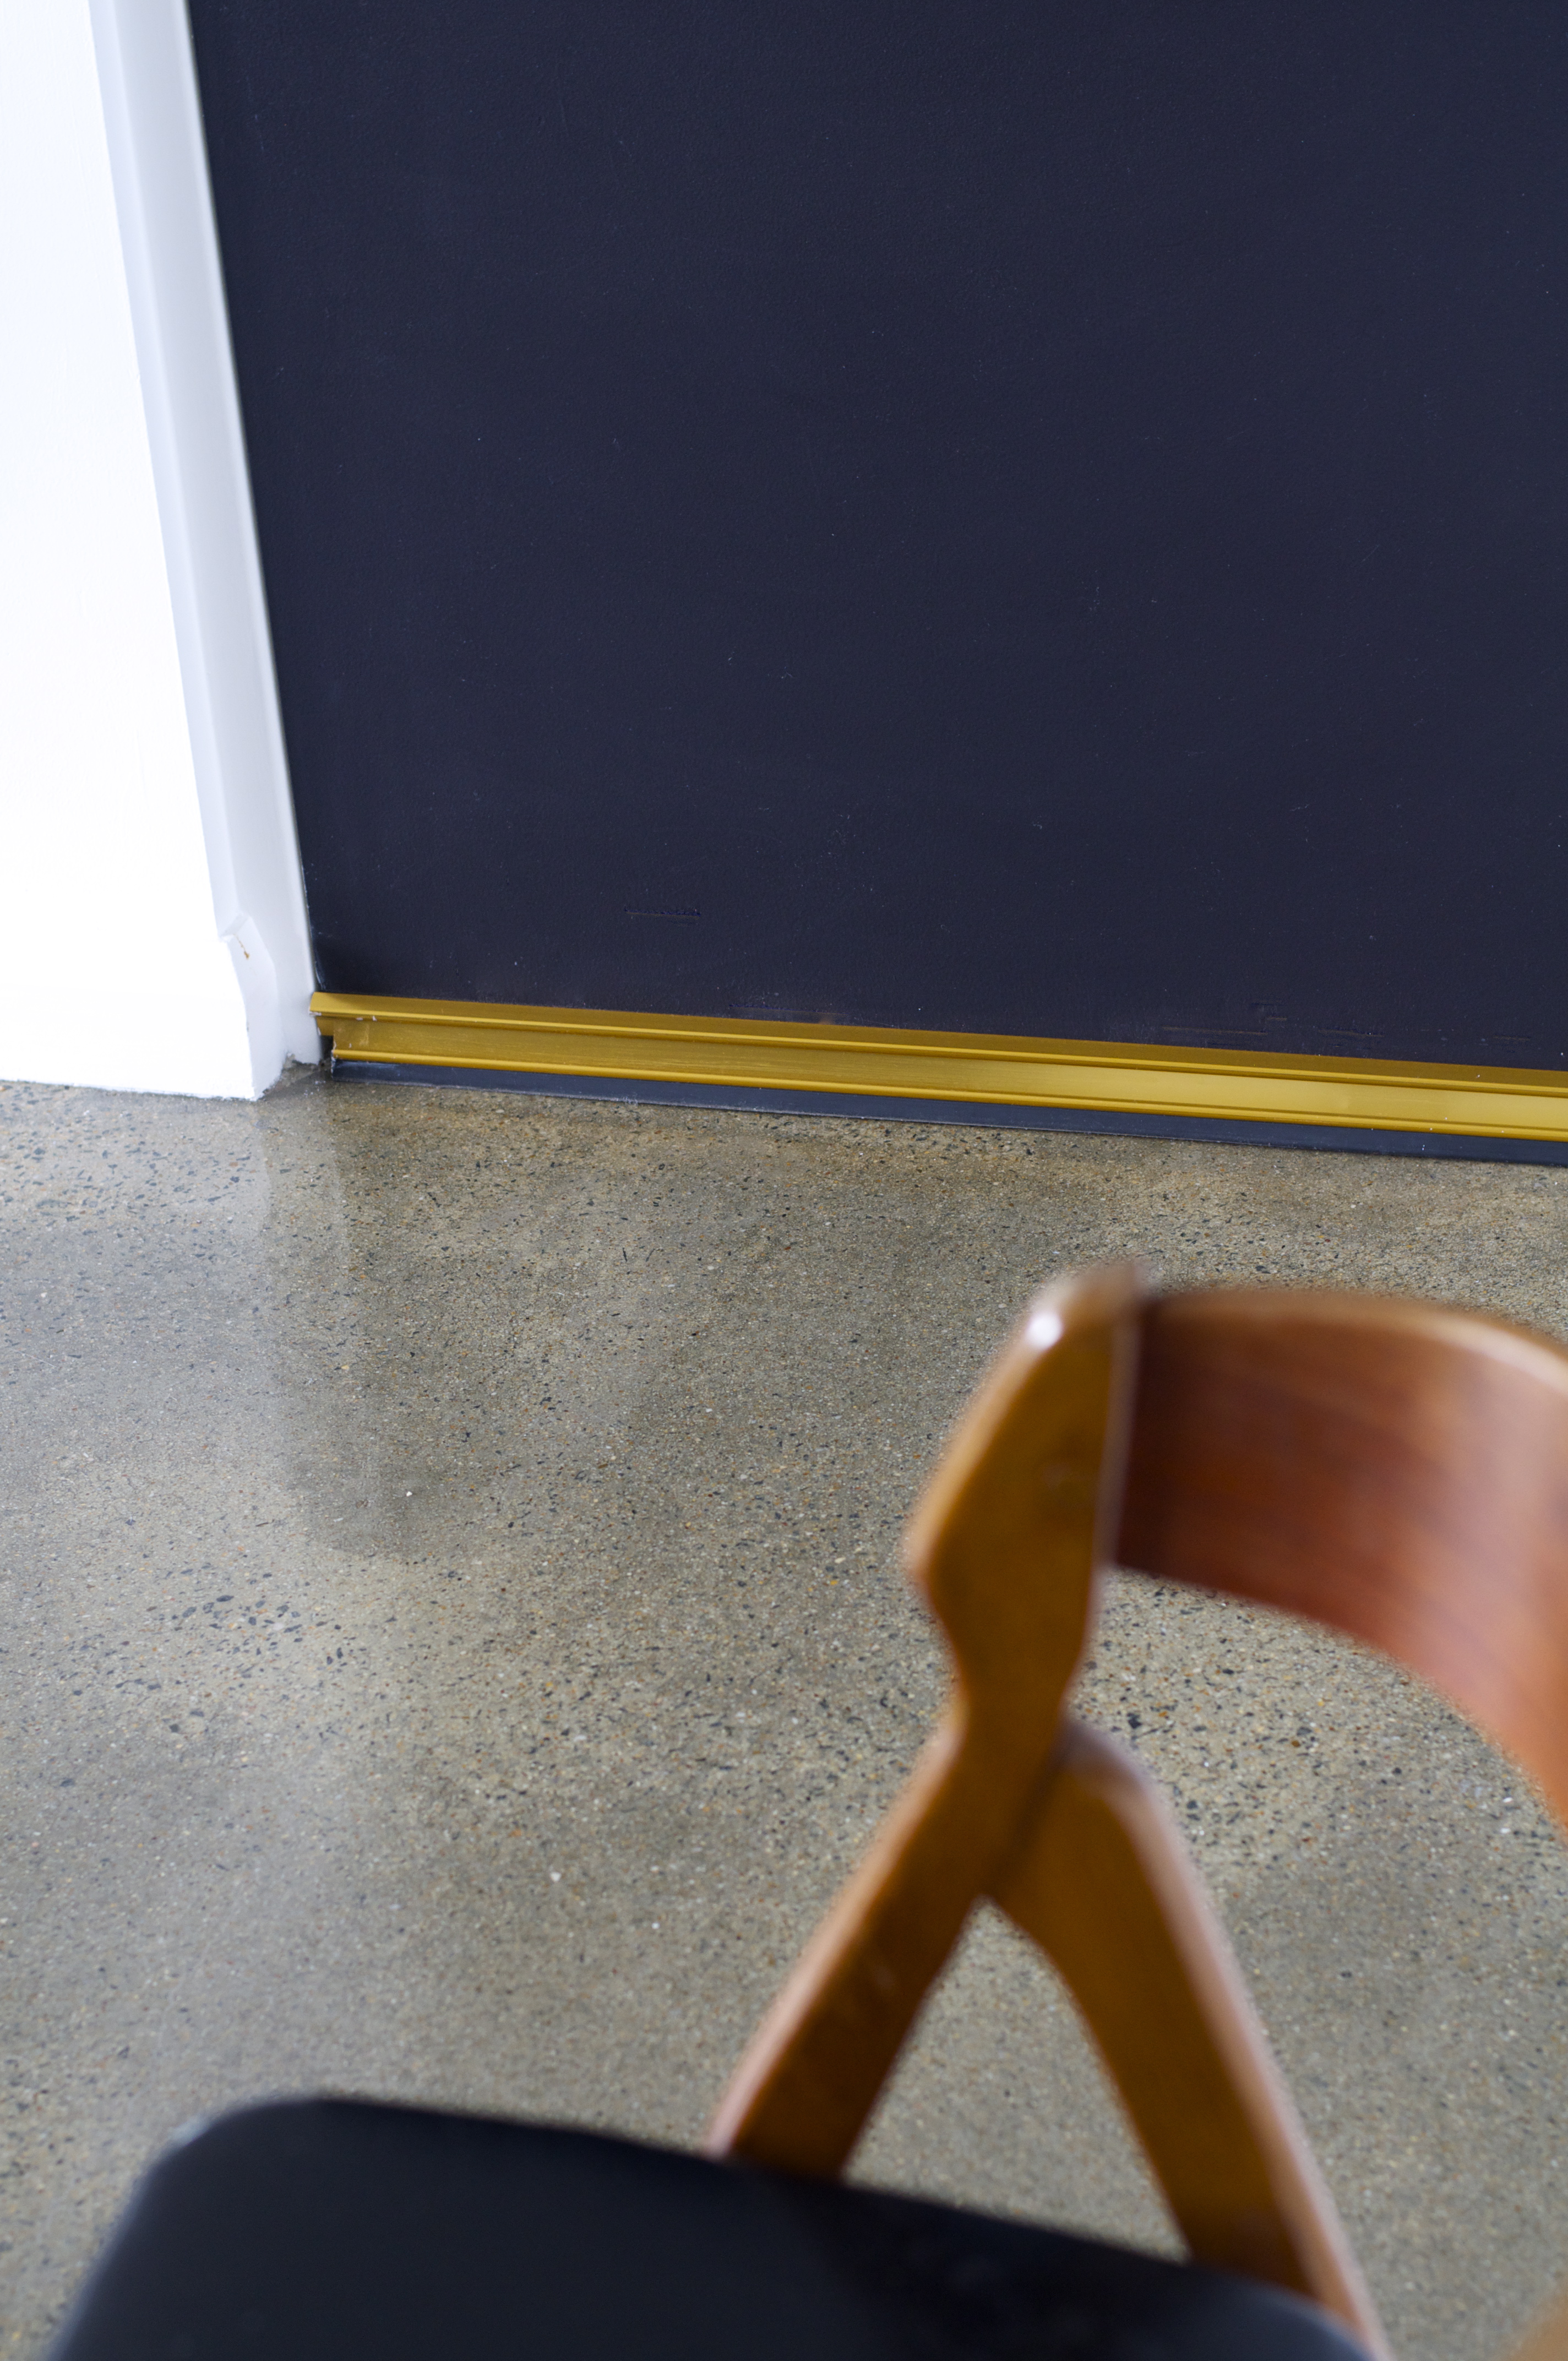
The second thing relates to the round window. It is random, but I love this window. The sill was originally painted the same cream colour as the walls. To give it more depth I painted the inside sill black (the same almost-black (Dulux Klavier) as the black wall).
Call me neurotic but I think these little things make a difference. Don’t you?
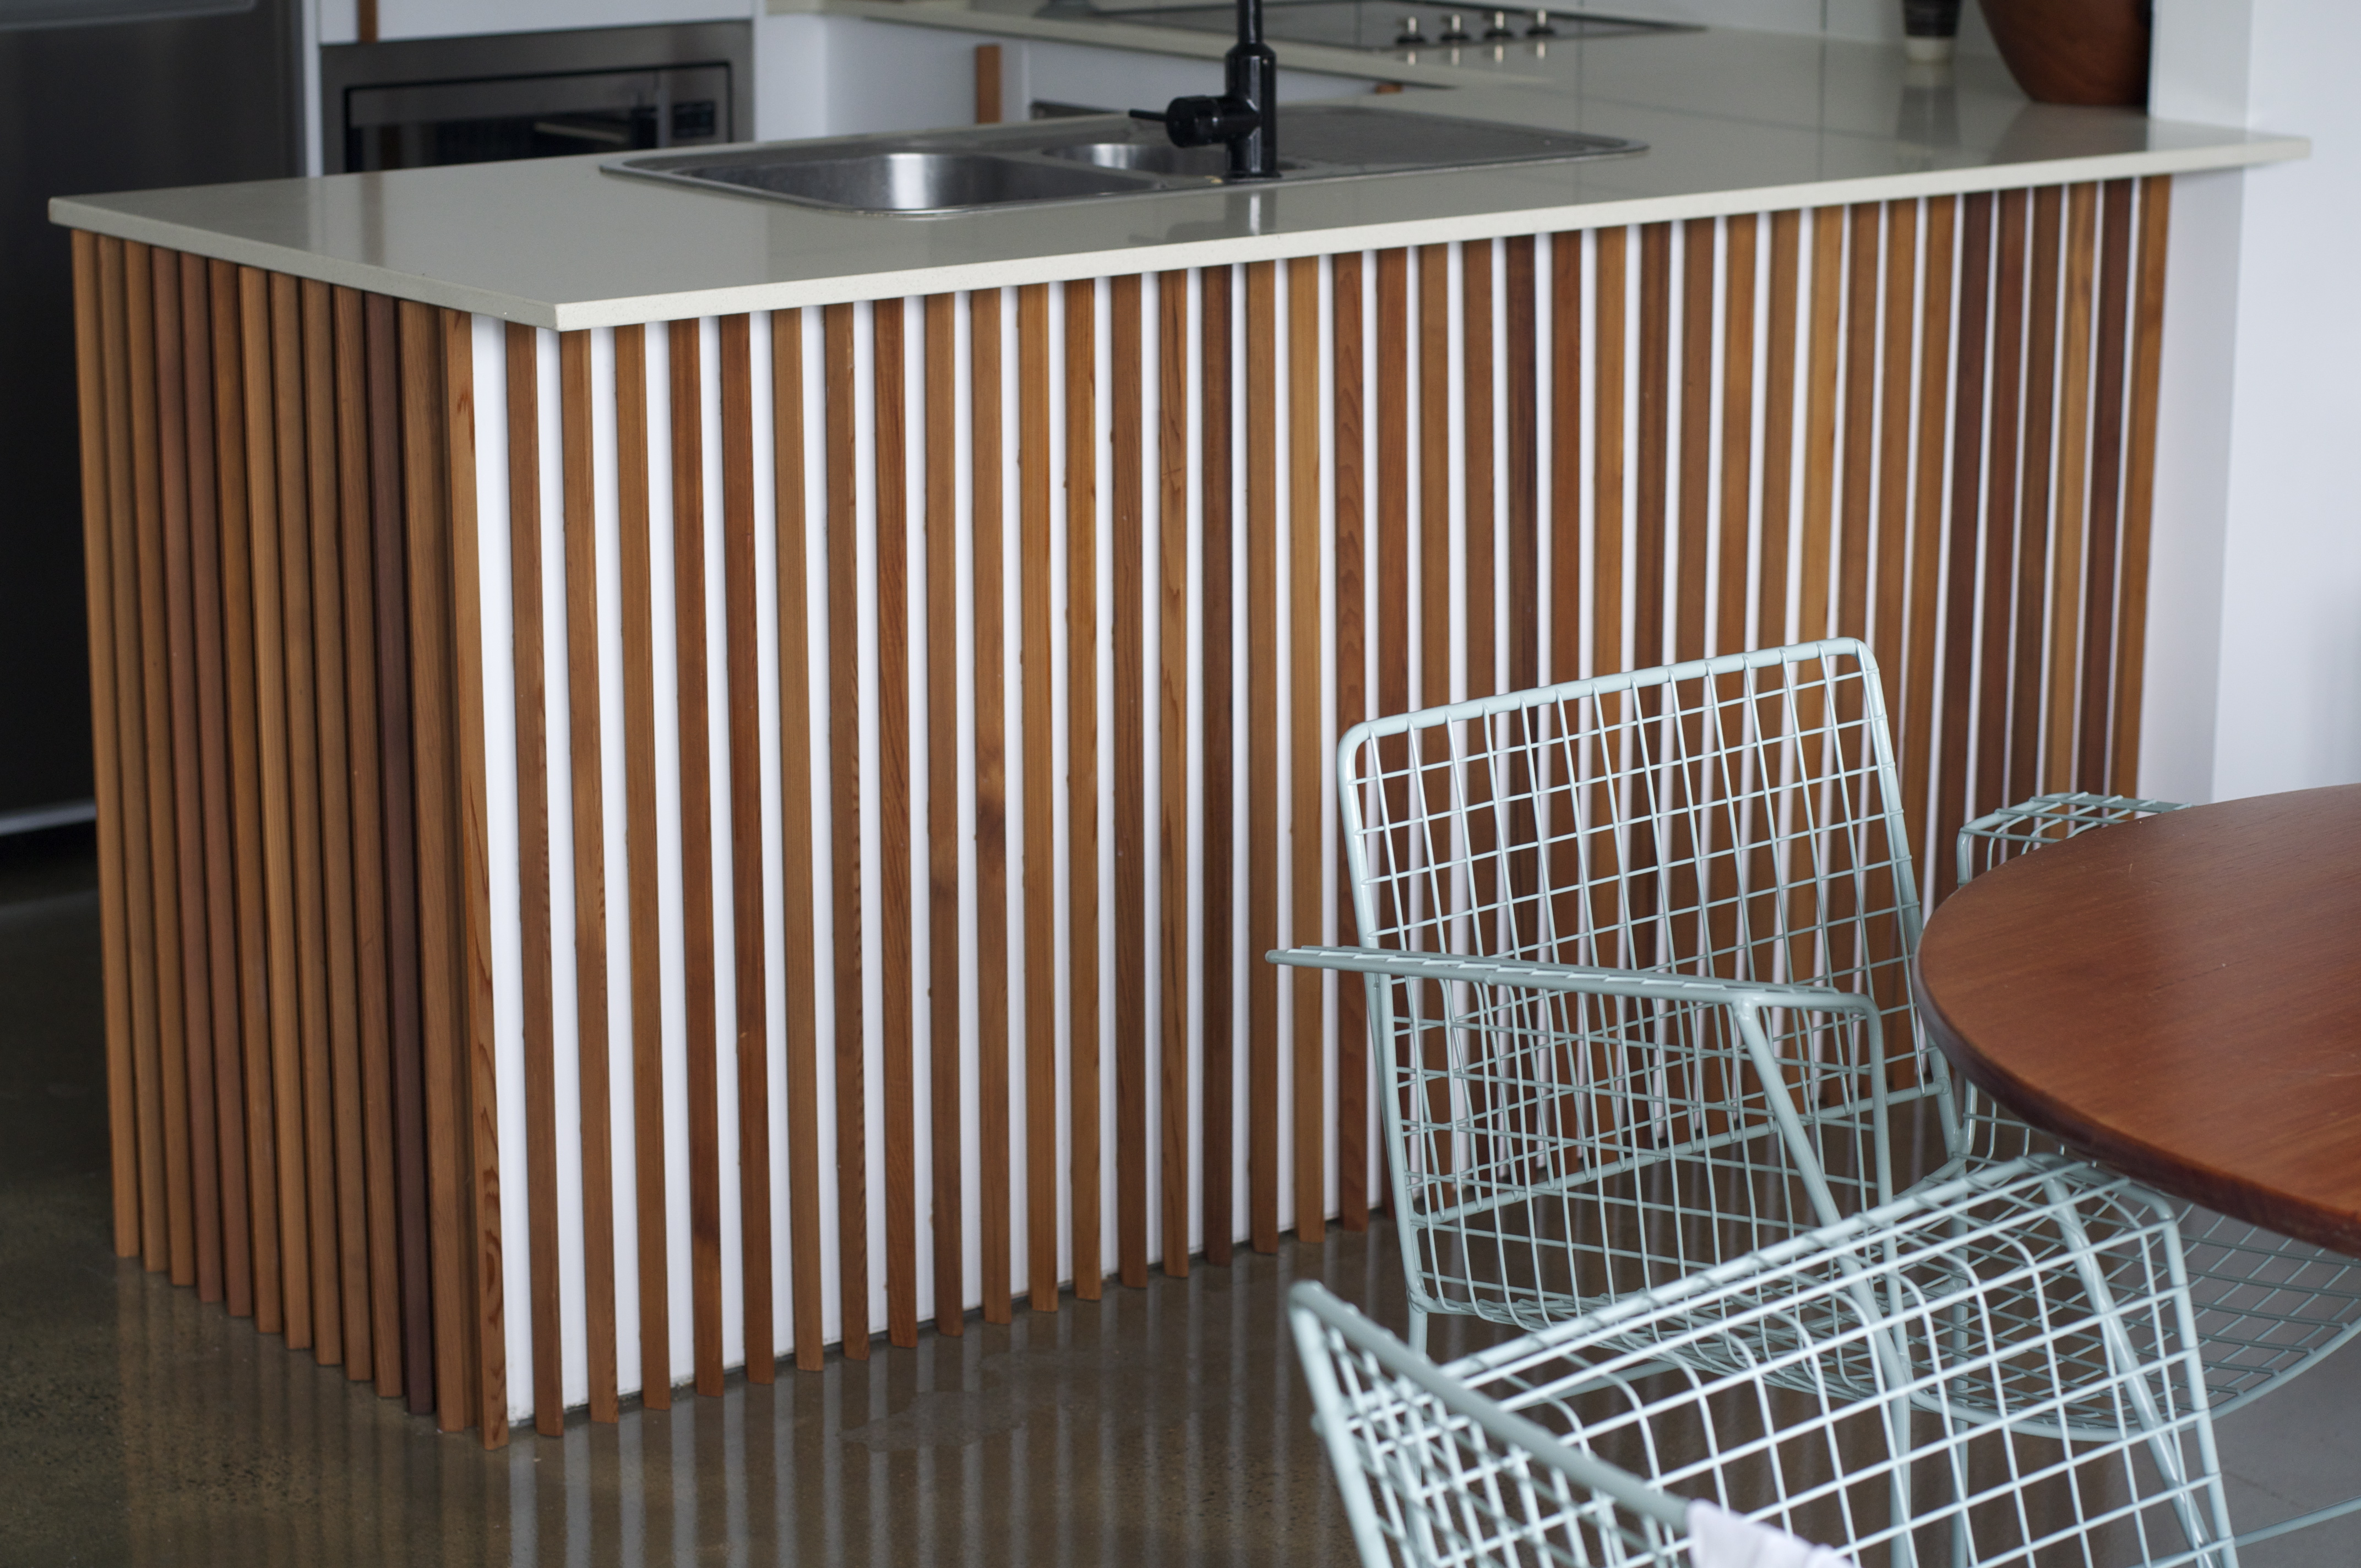
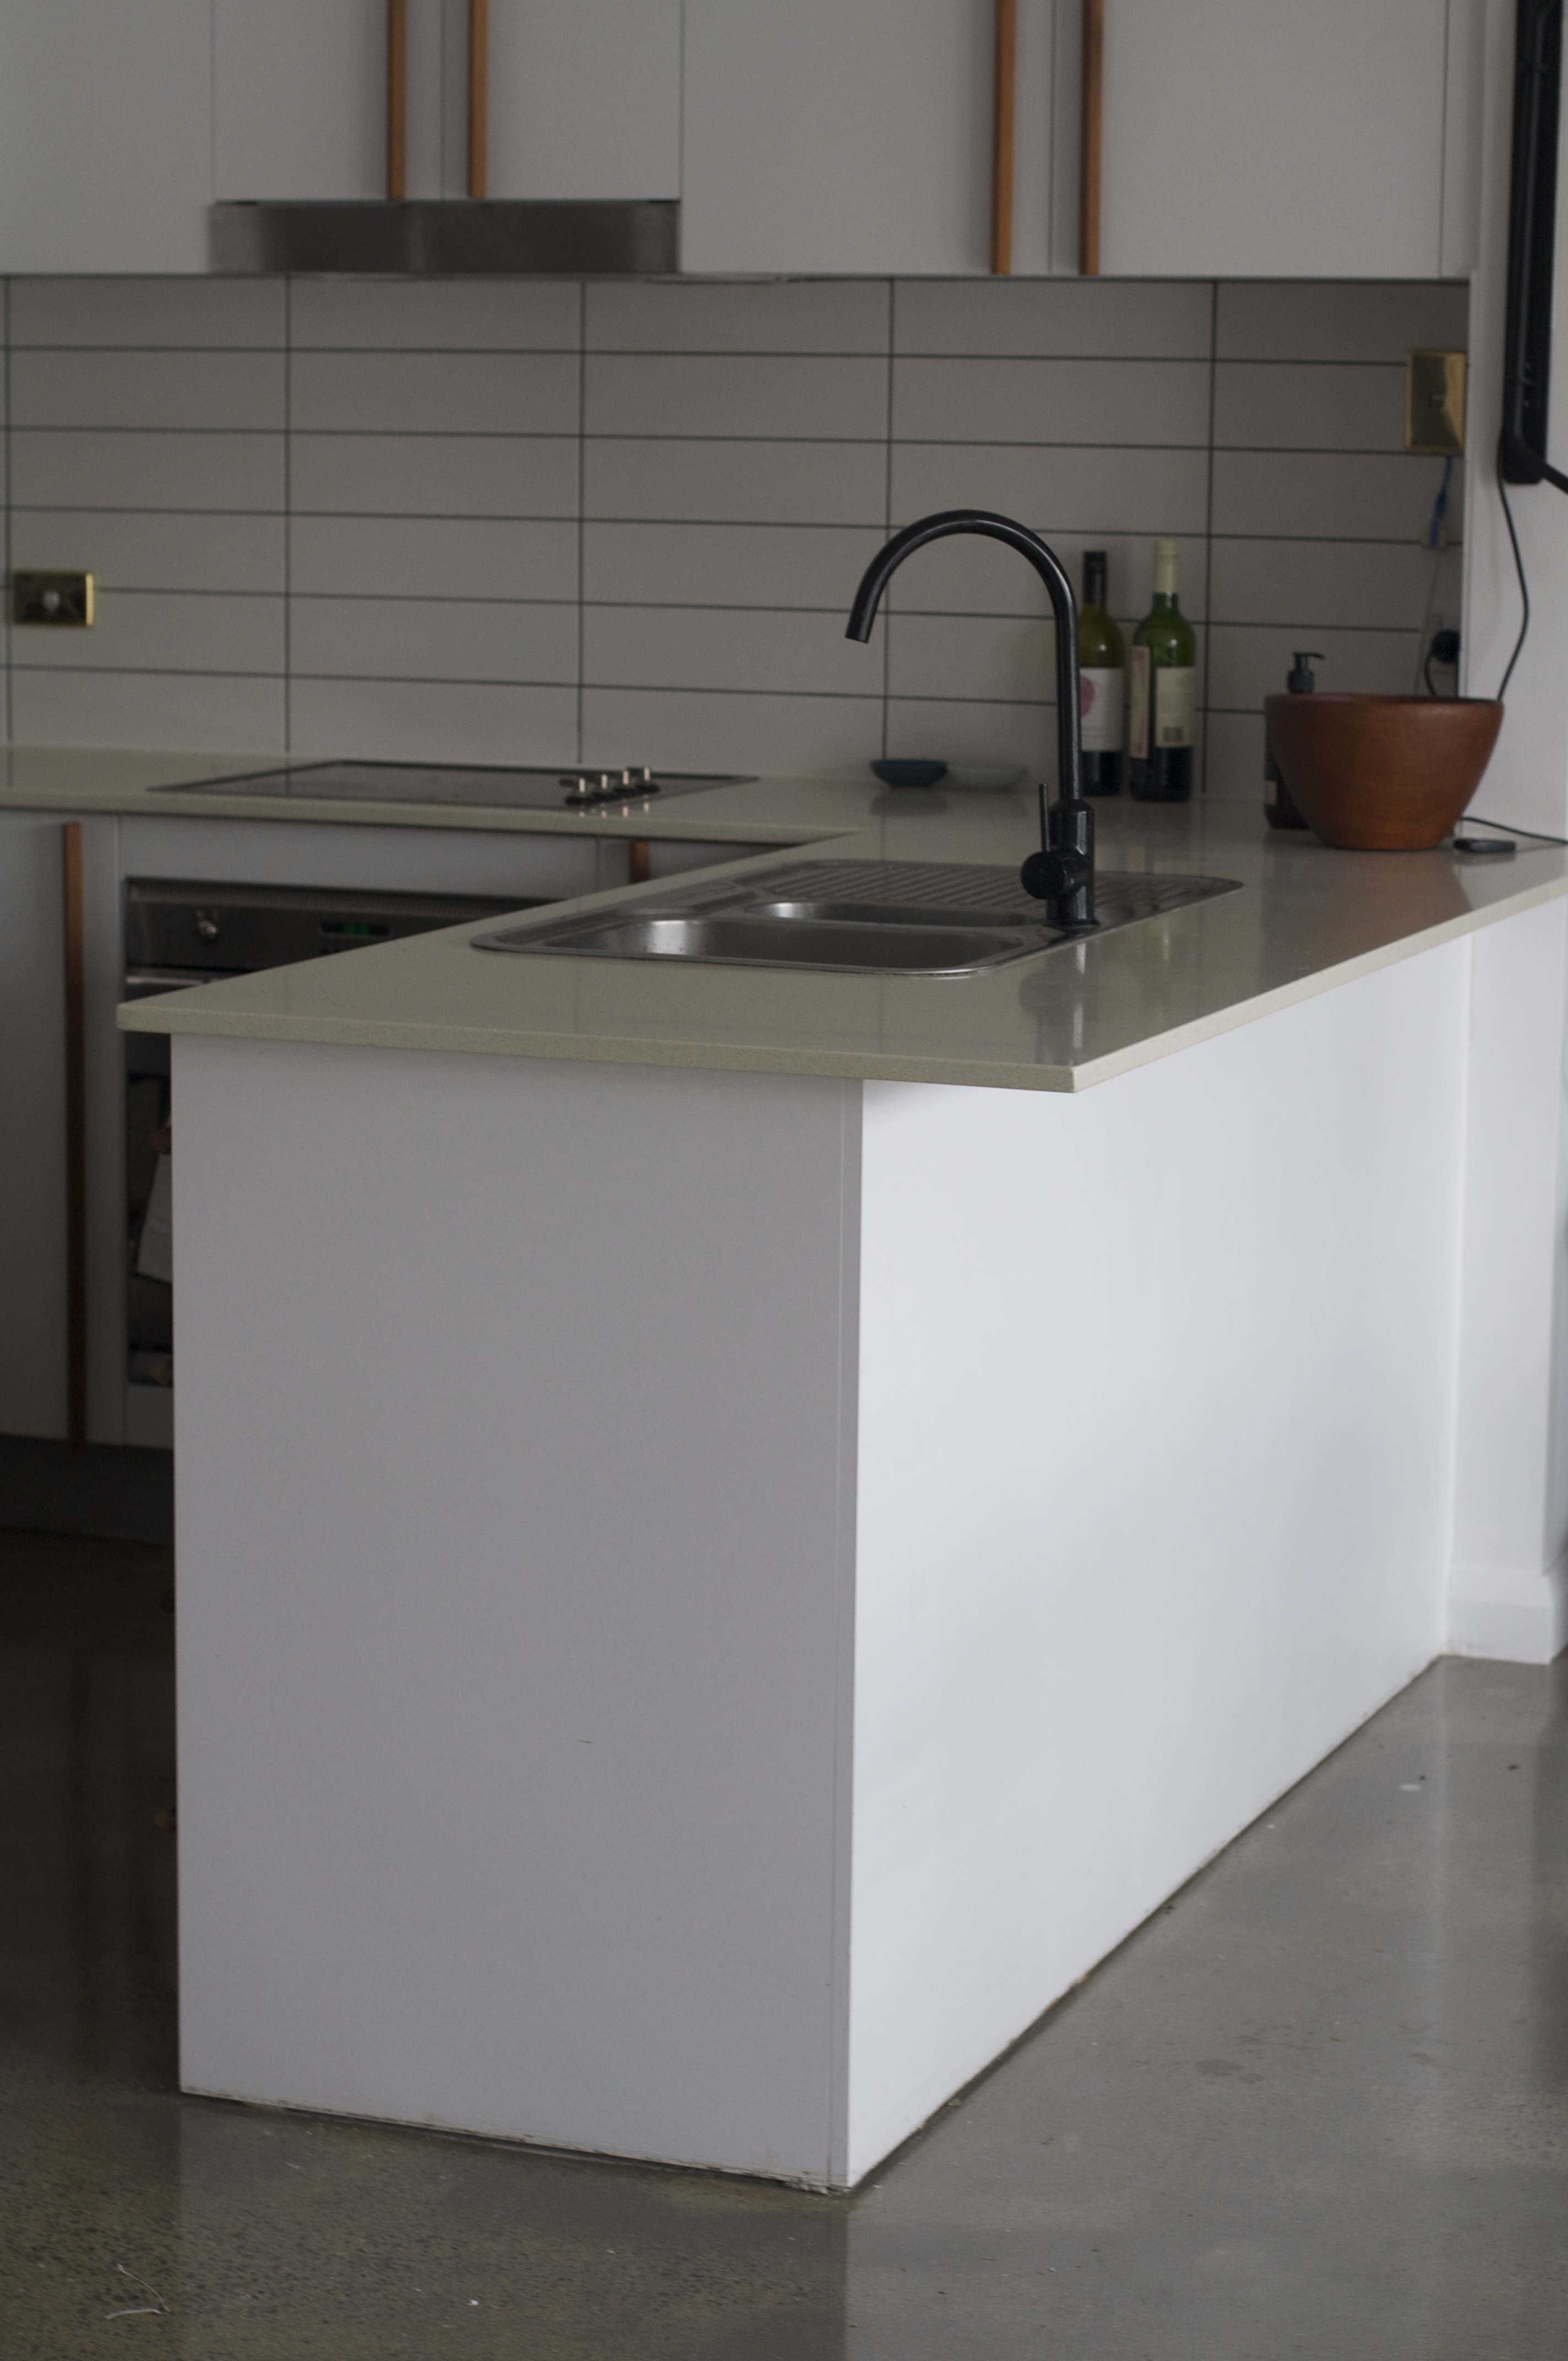
As for the furniture in the living room, I purchased the couch for a bargain from Gumtree (Australia’s more casual version of ebay). The lamp is from–none other than–IKEA (called Ranarp). I added a filament globe from Bunnings. The coffee table I particularly love–I found it collecting dust at a secondhand furniture store. It has a white round stone top and a carved teak base. Also a bargain. Of course.
cost: IKEA Aina curtains ($79 x 3), black matt spray paint $9, metal for windows $8


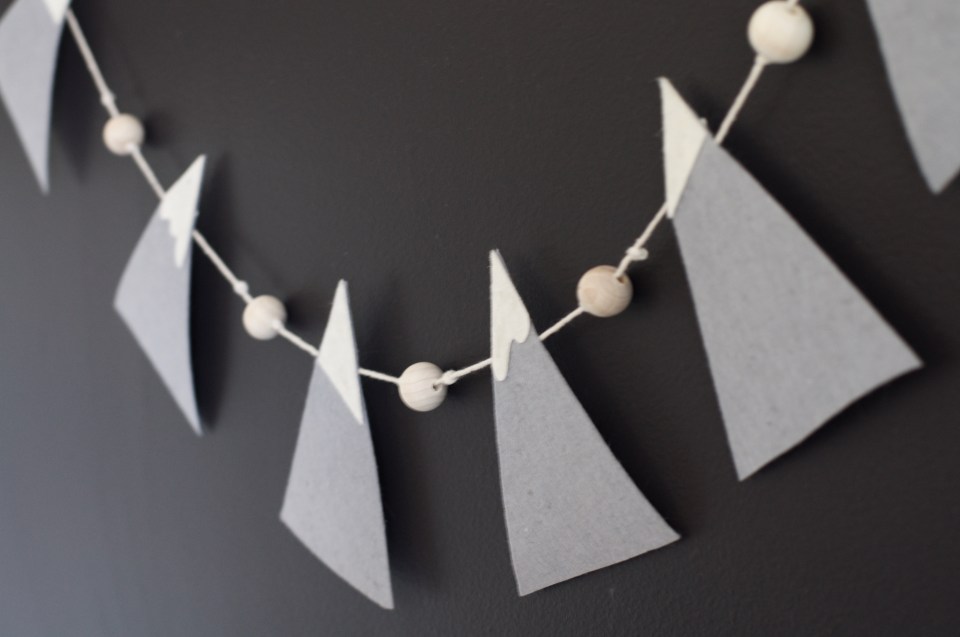

 the craft aisle of my local fabric shop for just the right type of felt. I did not want any stark white faux snow business. I wanted the flecked creamy felt that looked more like genuine snow. The shop assistant (perhaps understandably) did not appreciate the difference, but I found the snow cap felt I needed. Displaying some rare skills in spacial awareness I think I managed to cut five identical mountain triangles from one sheet of grey felt. The snowy caps I cut out freehand-style (alternating between straight and curvy snow–crazy, I know) and glued them on with craft glue. The natural beads were the perfect addition to break up the frosty peaks, although threading the beads and tying the knots was probably the most time consuming part of the whole caper.
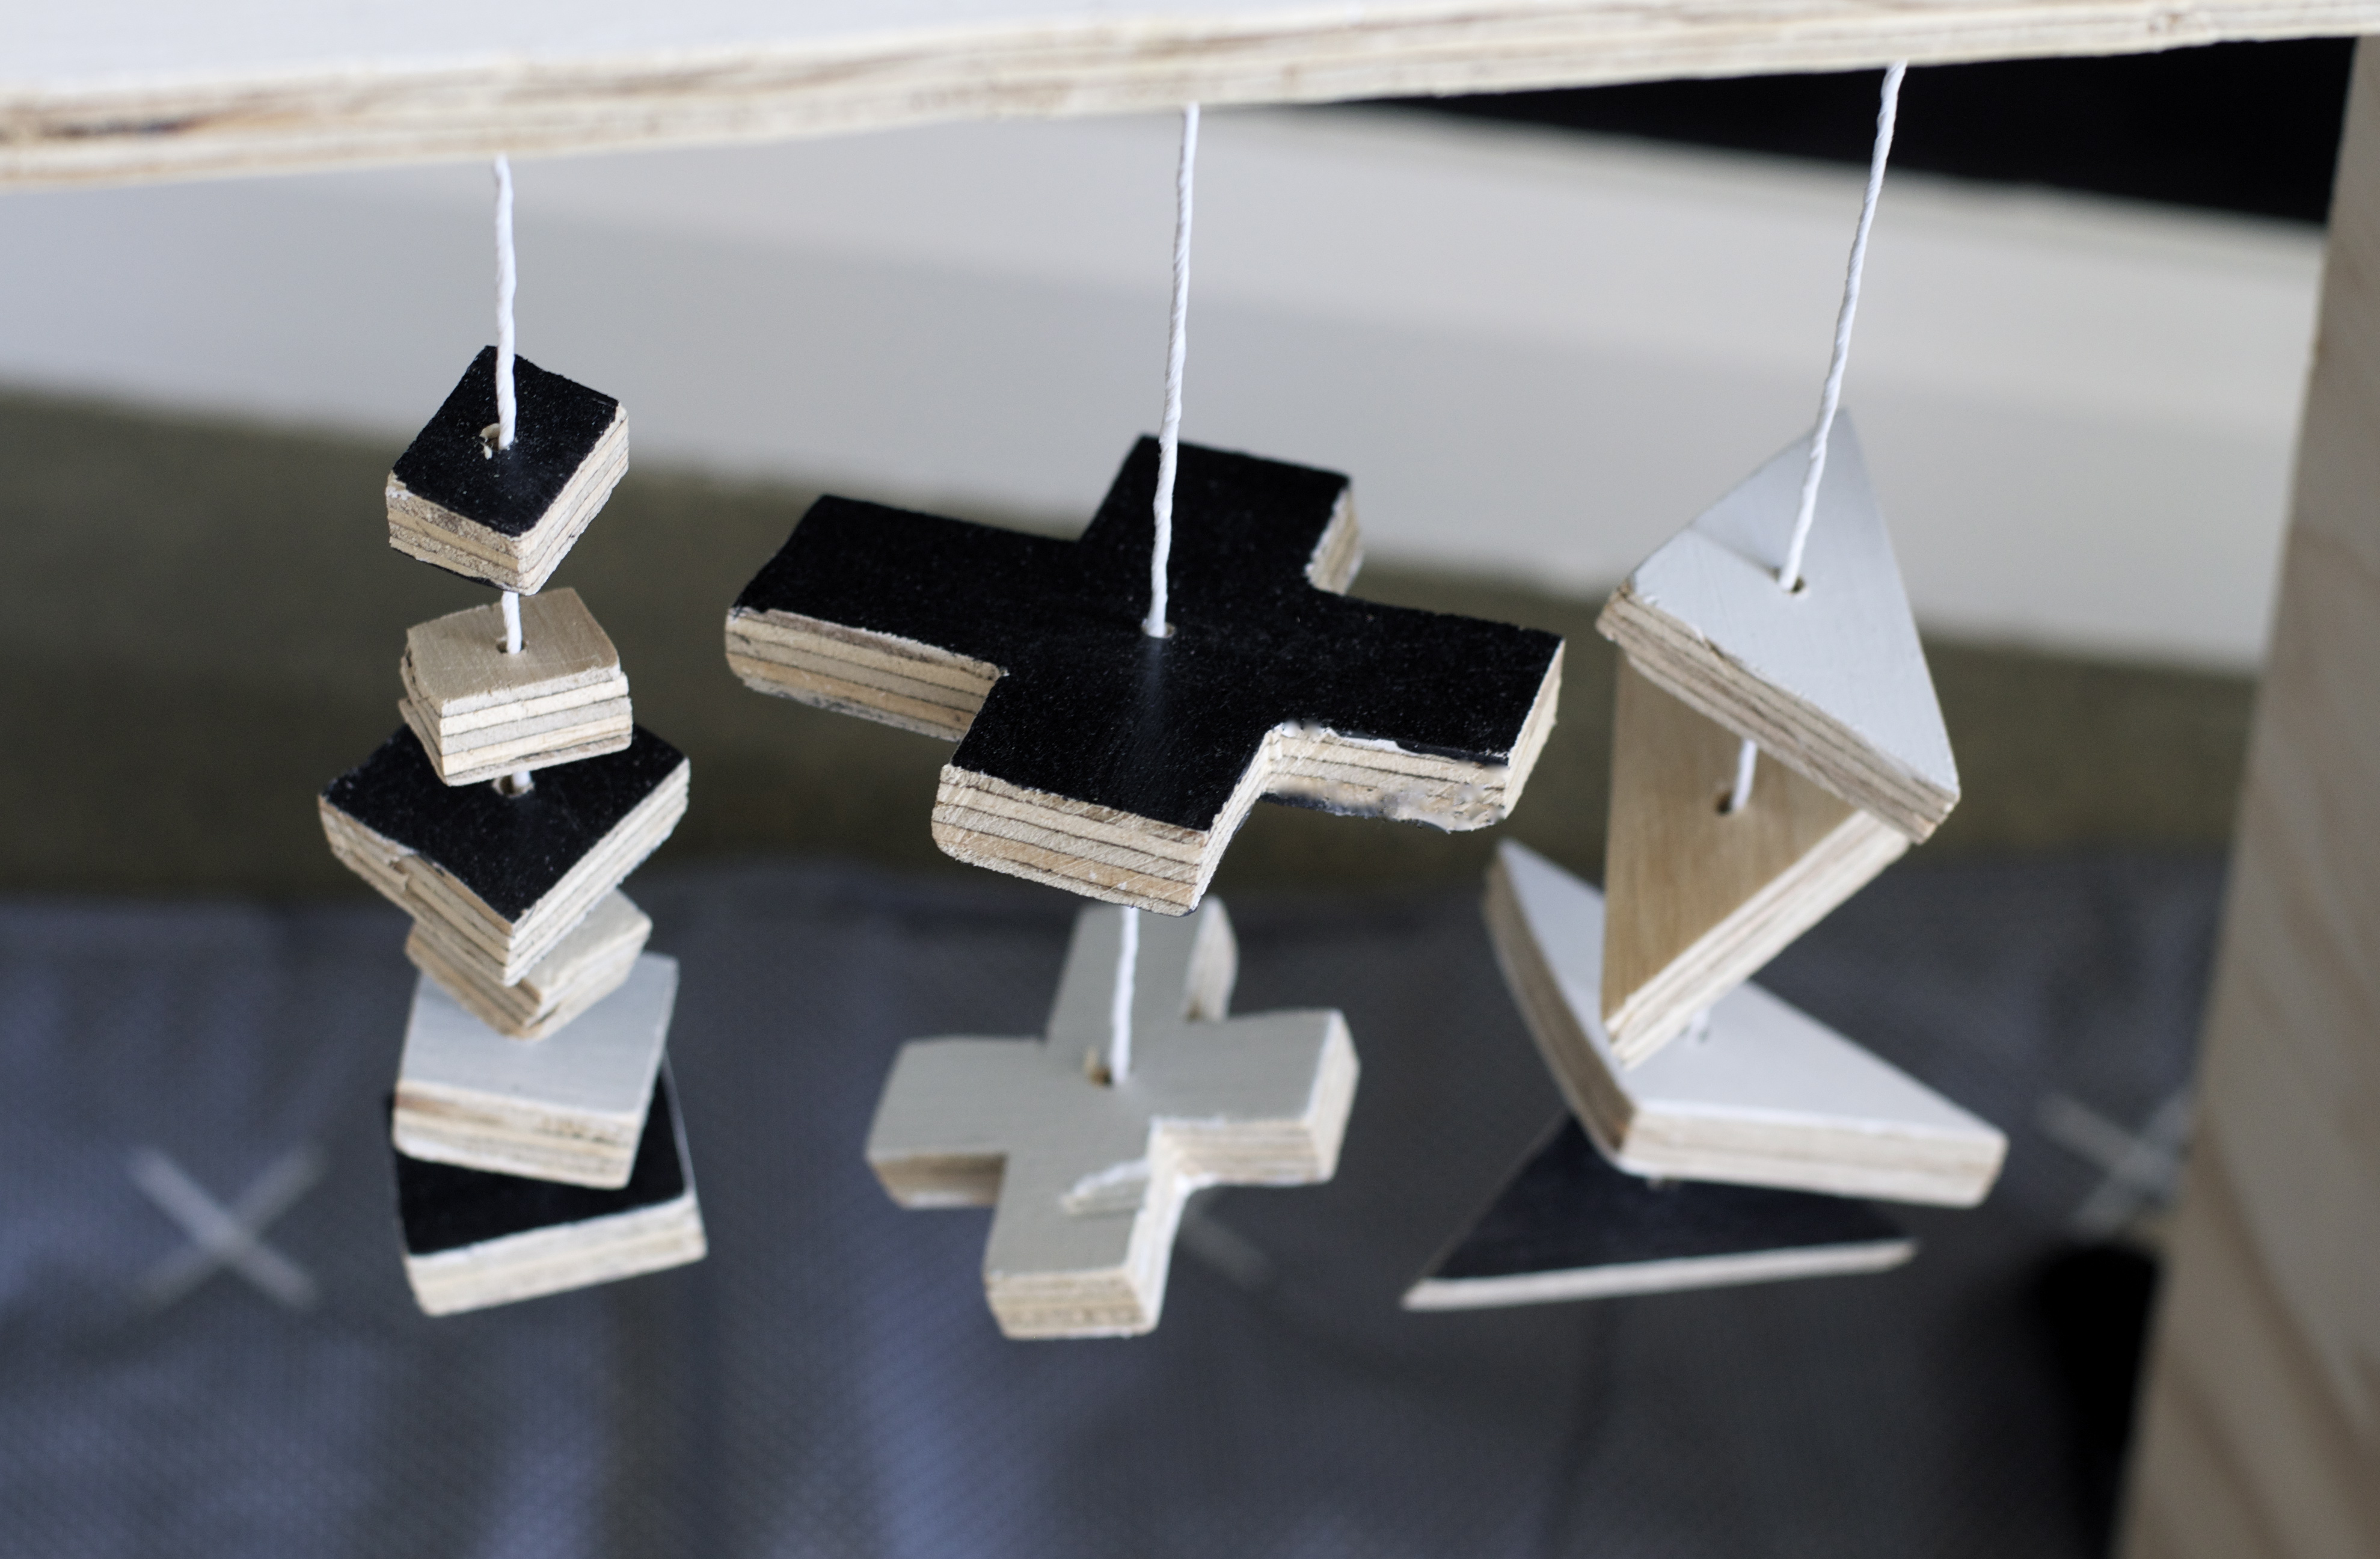
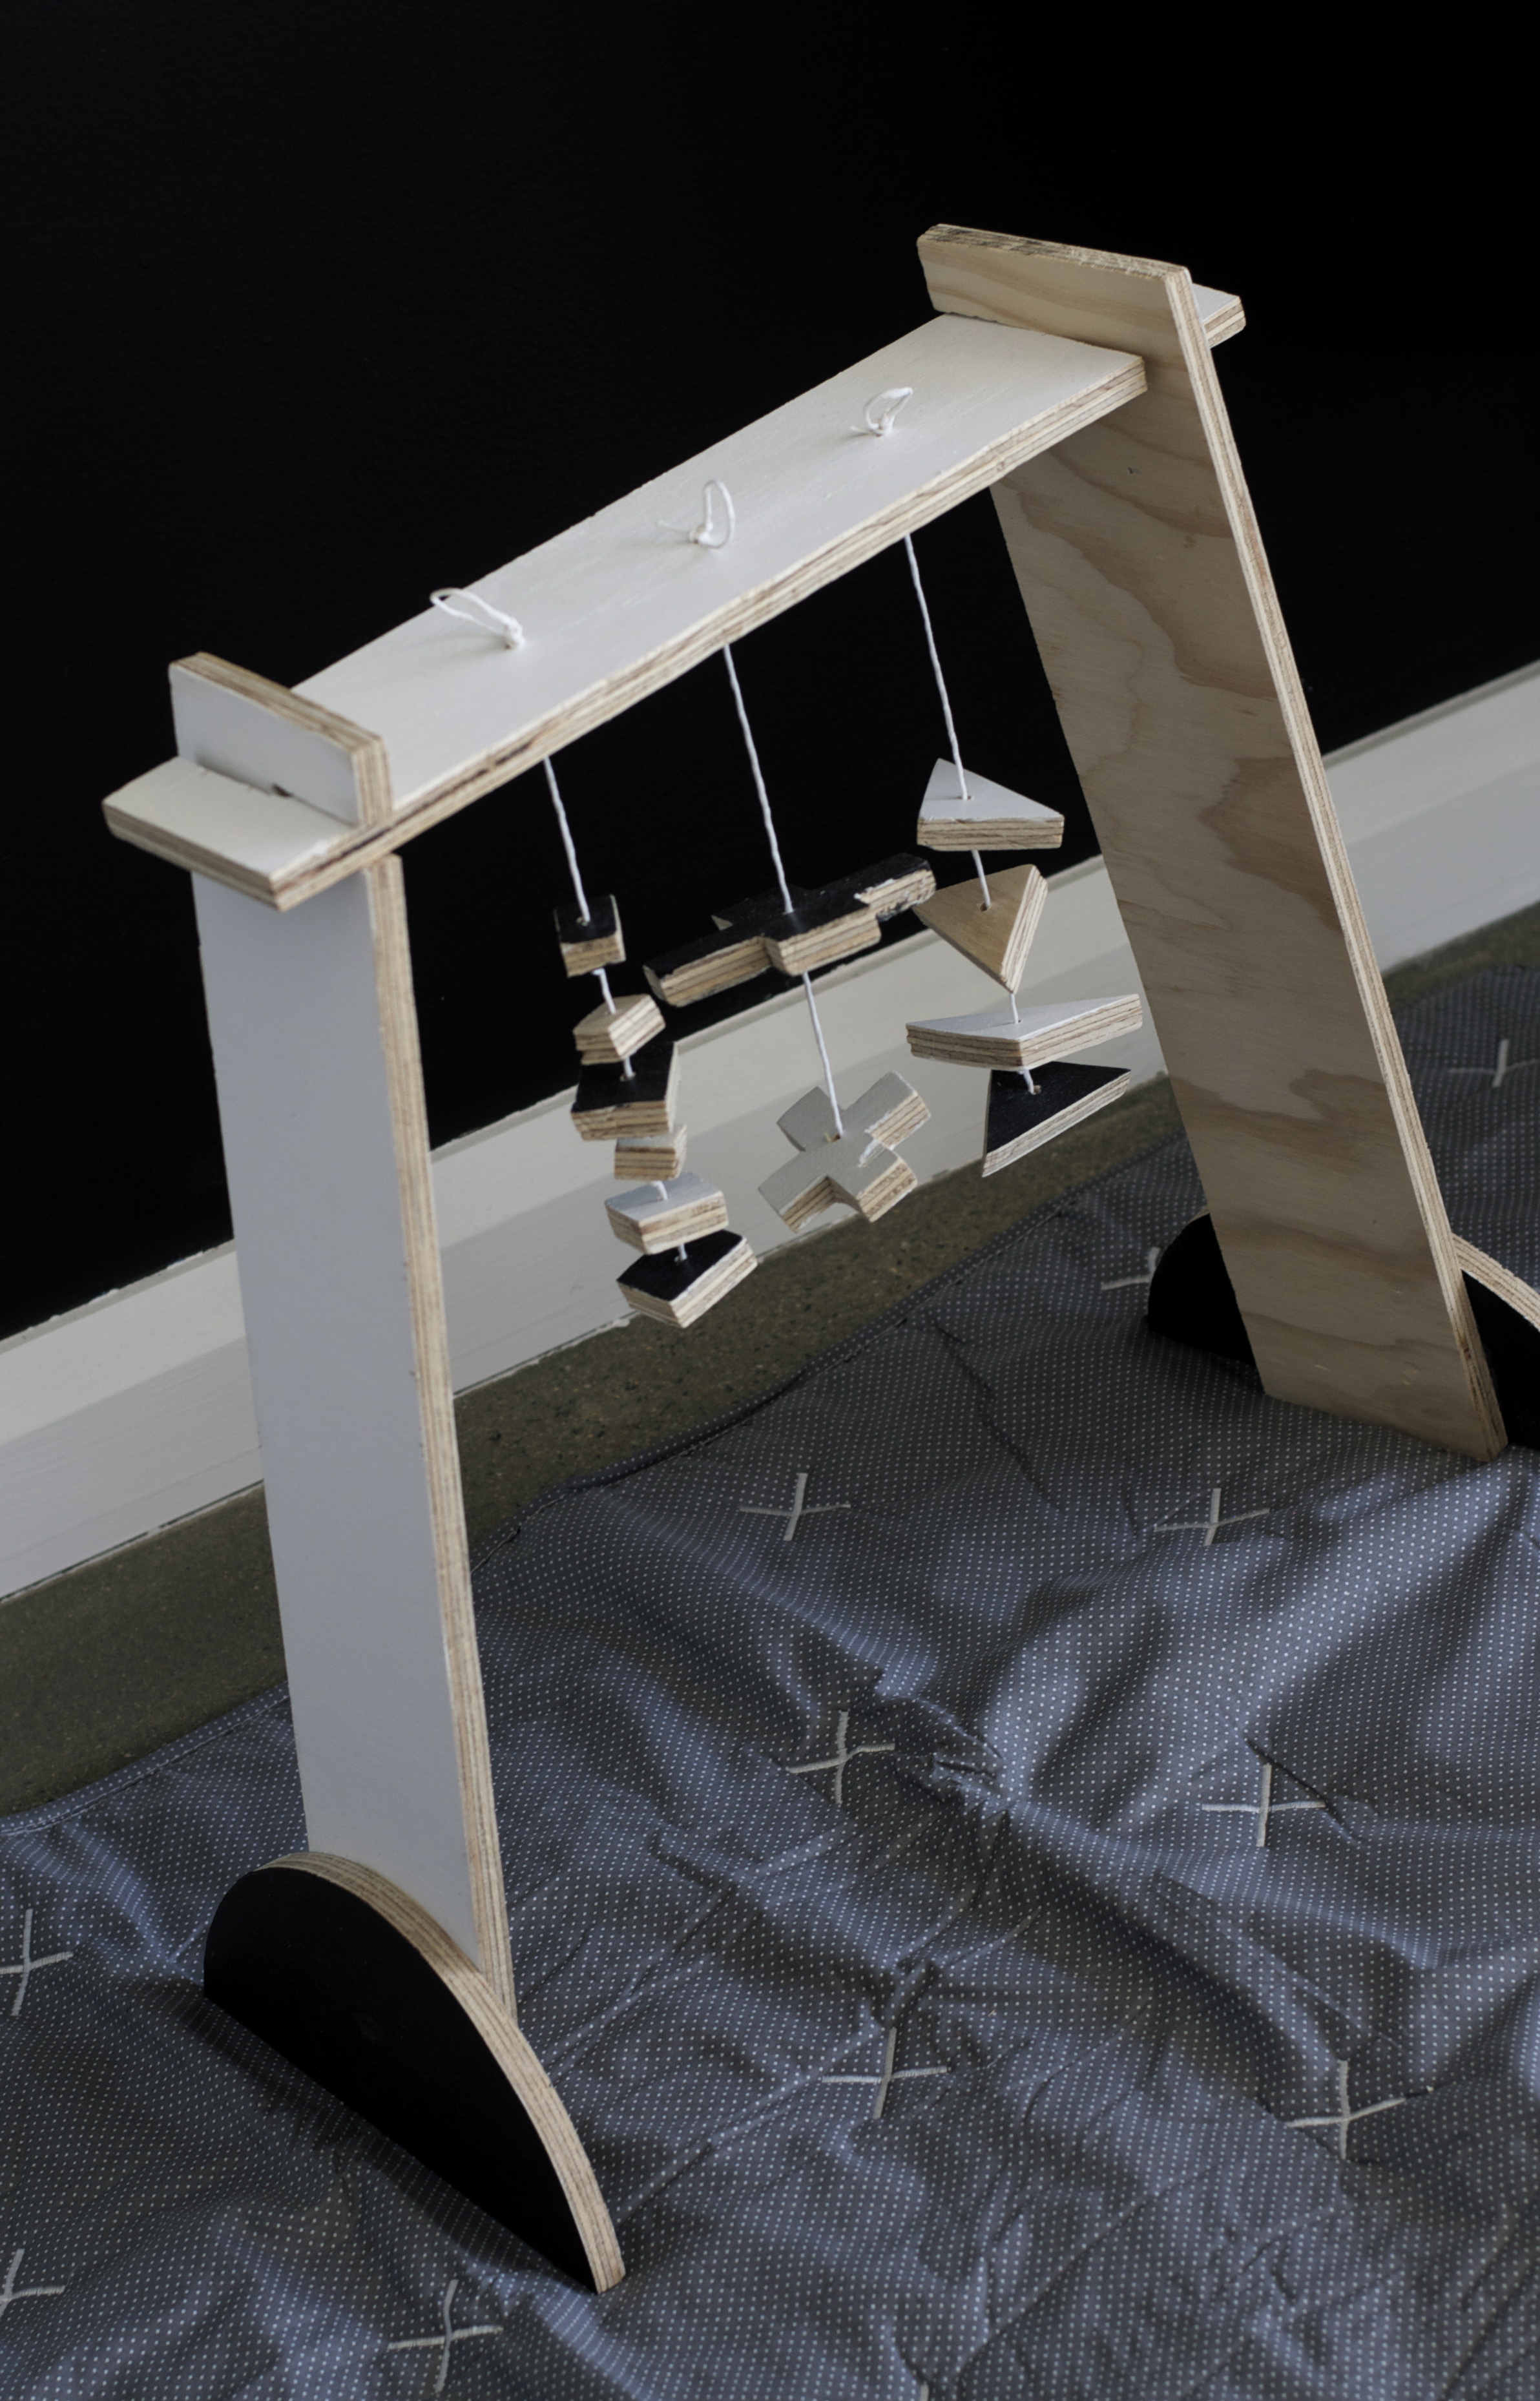
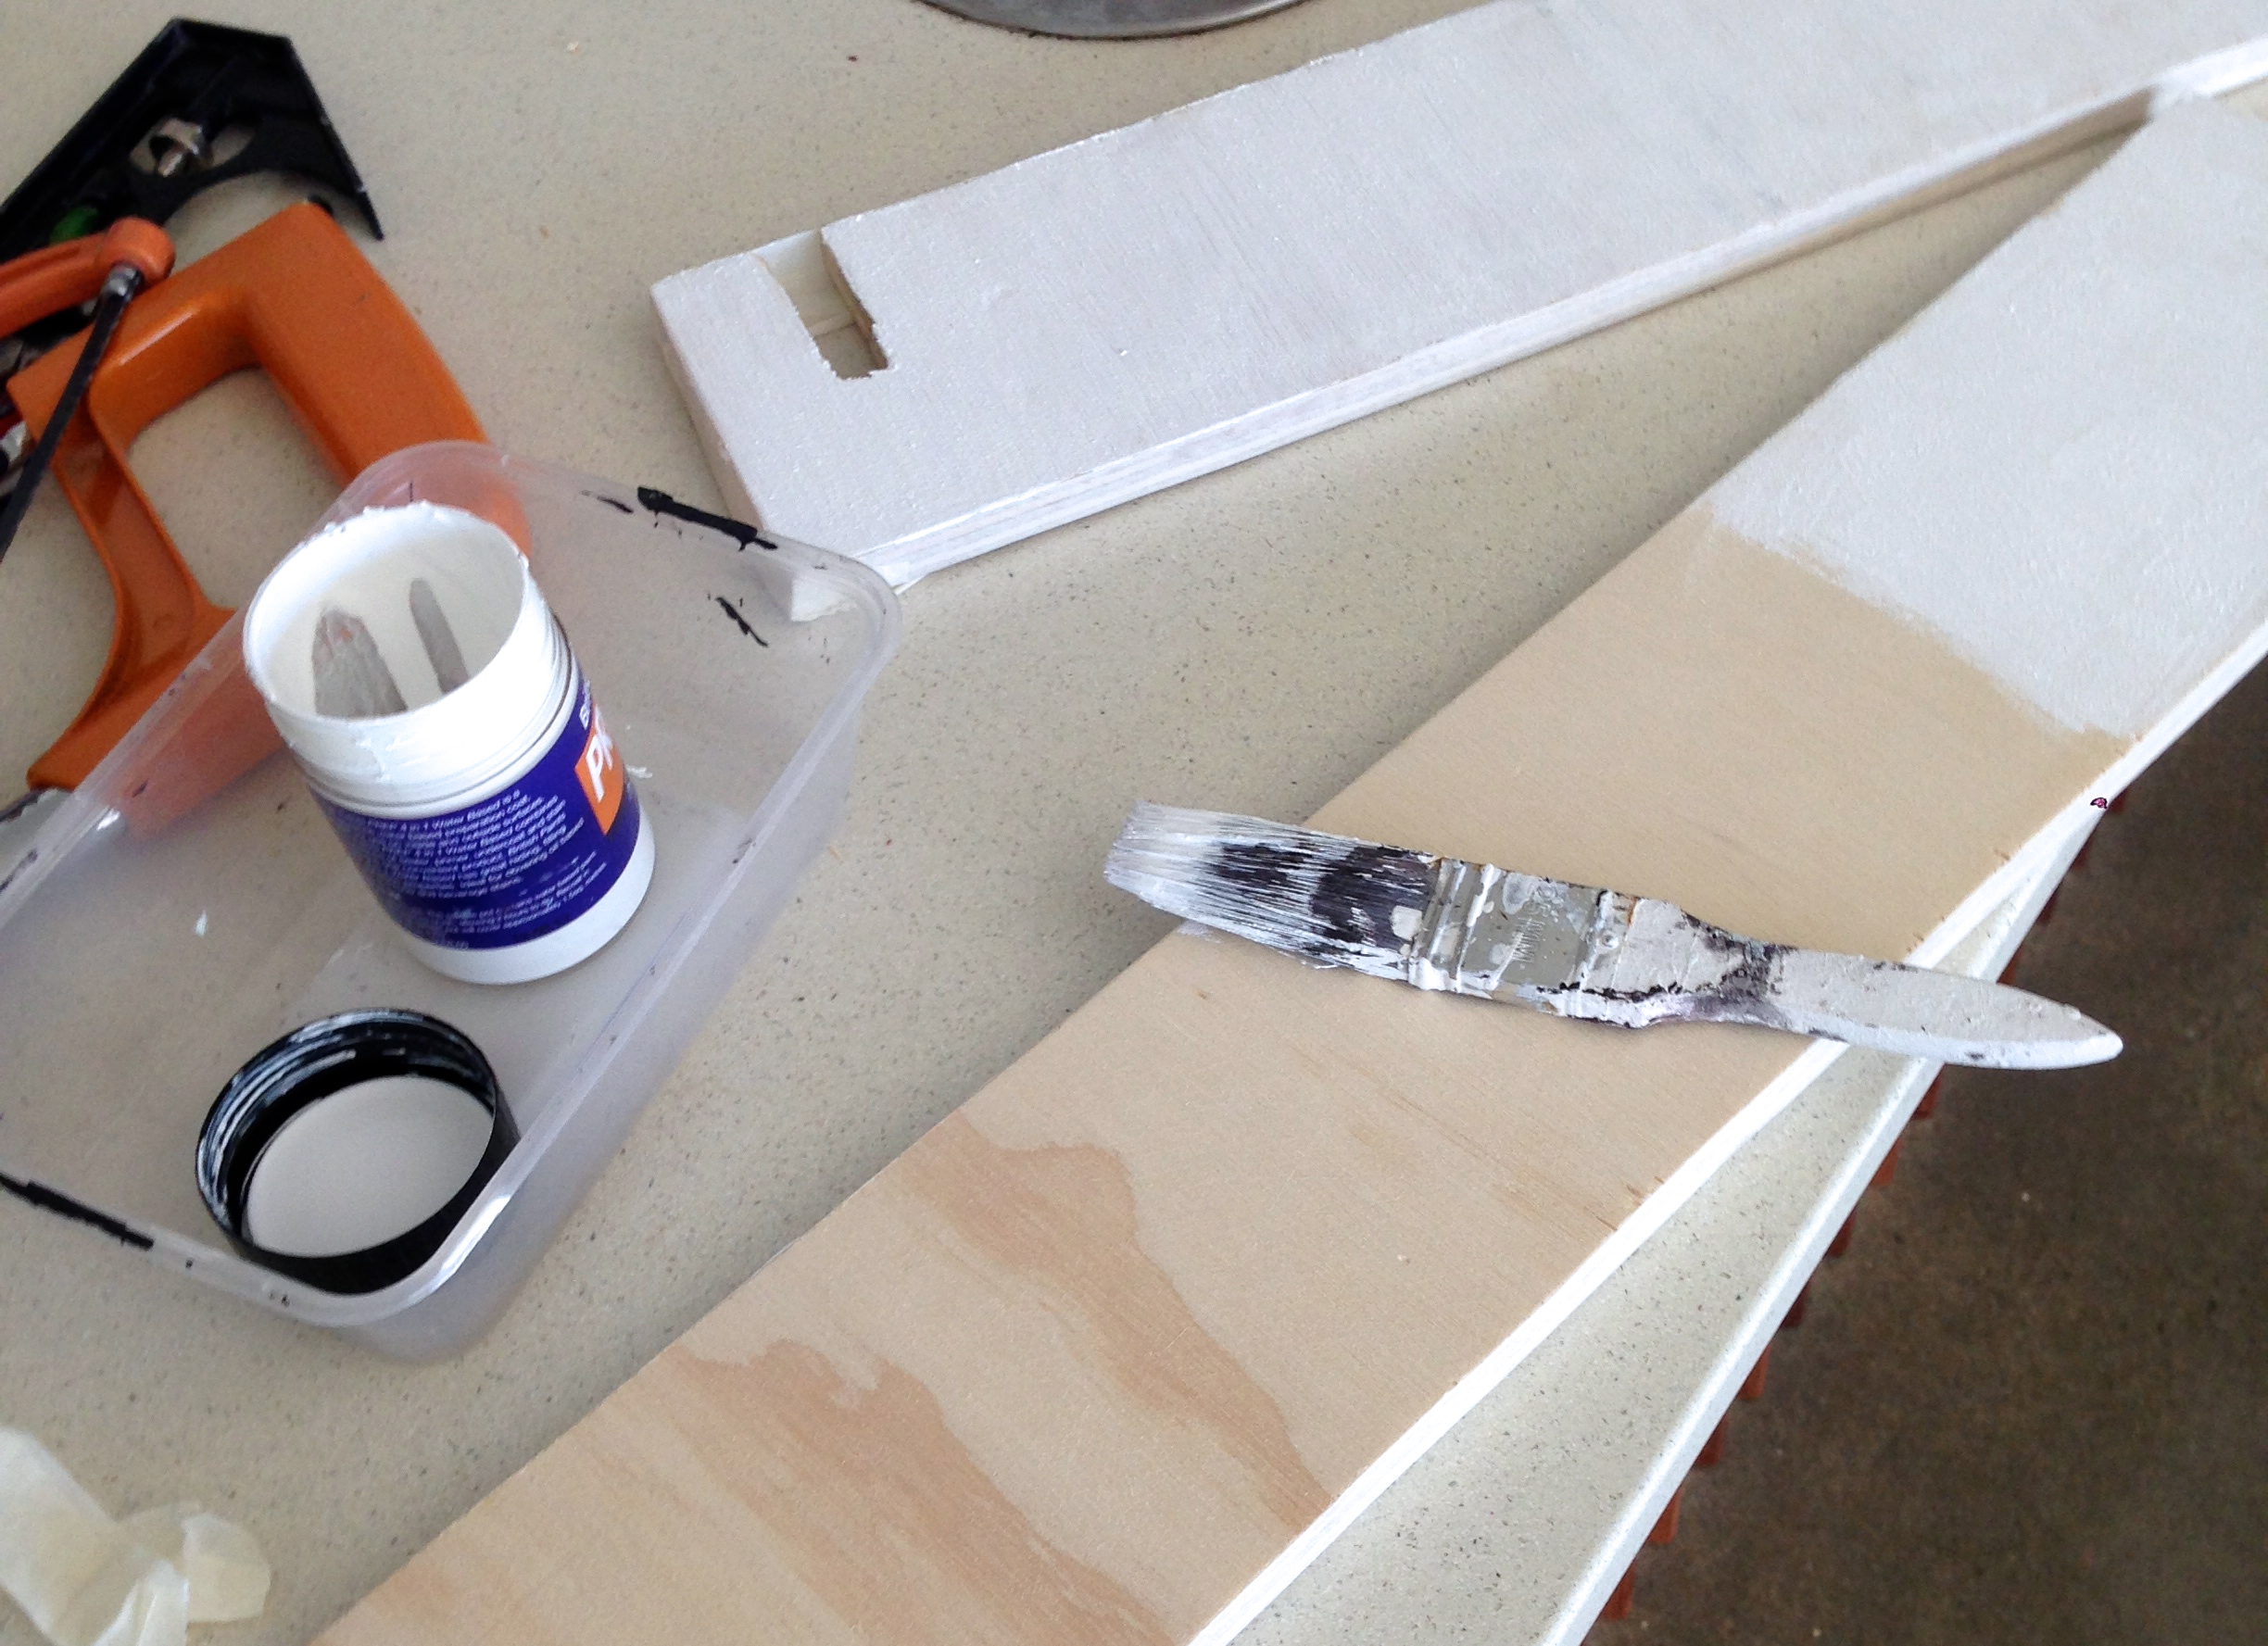
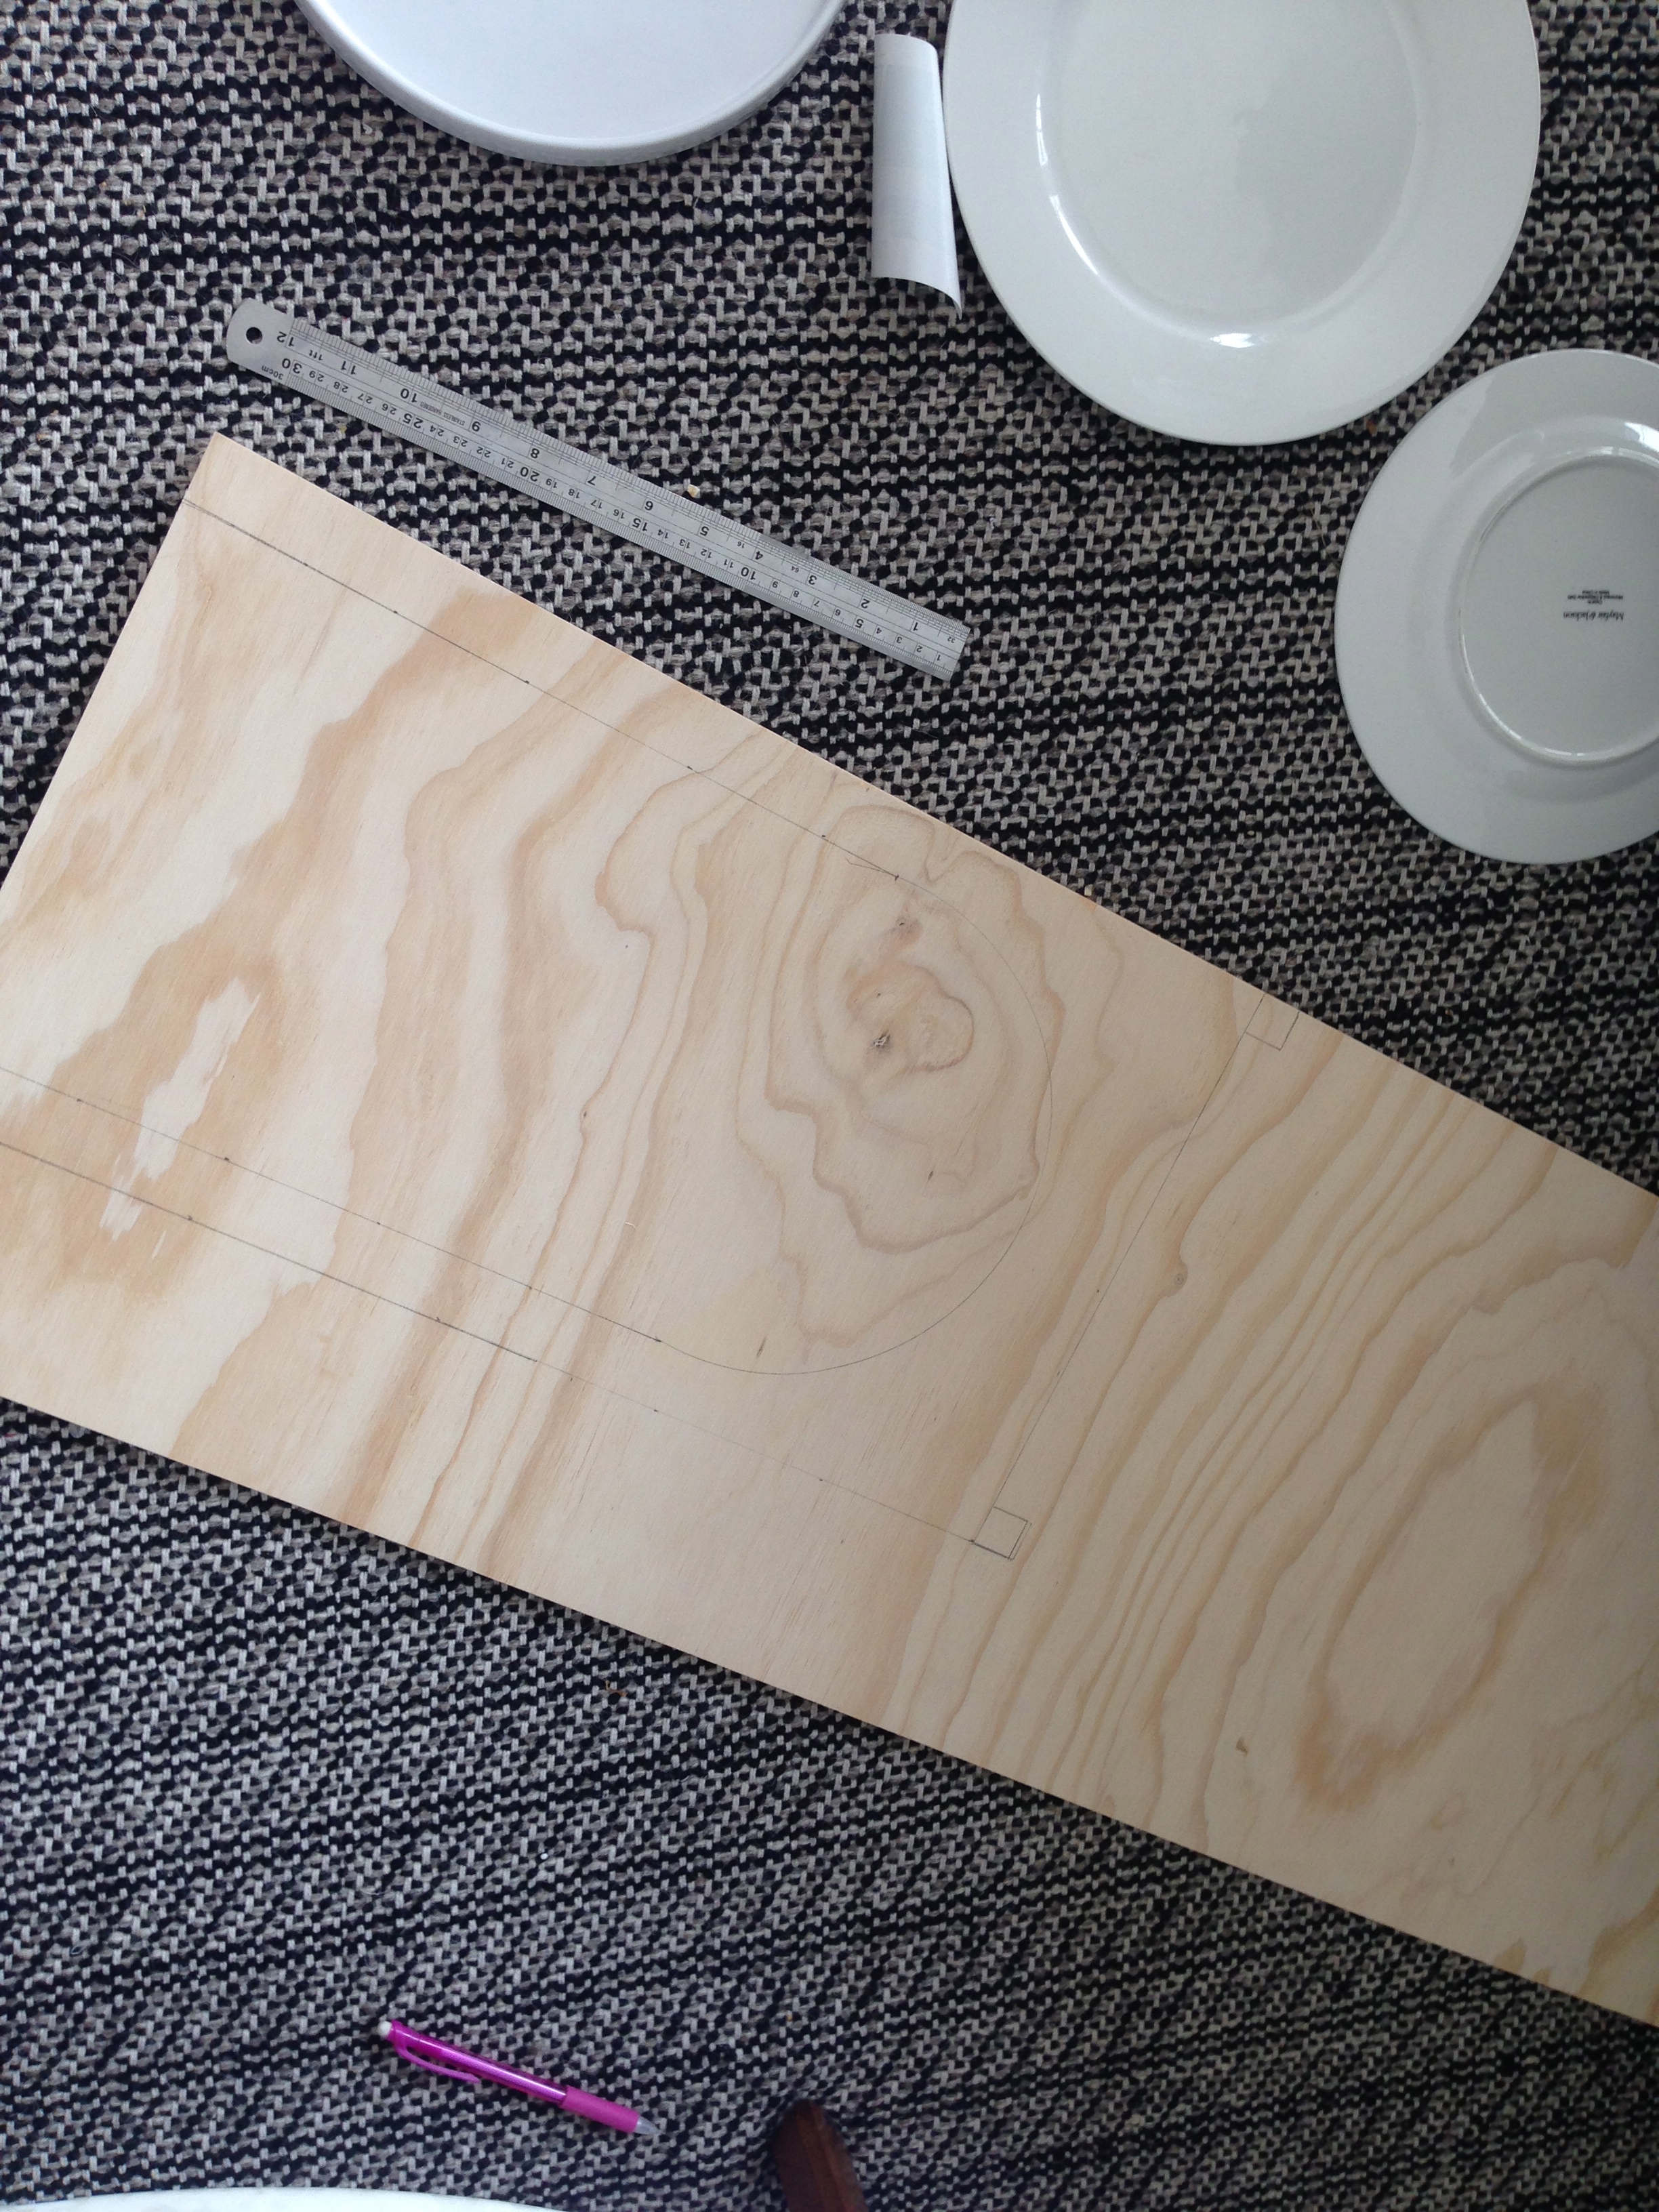
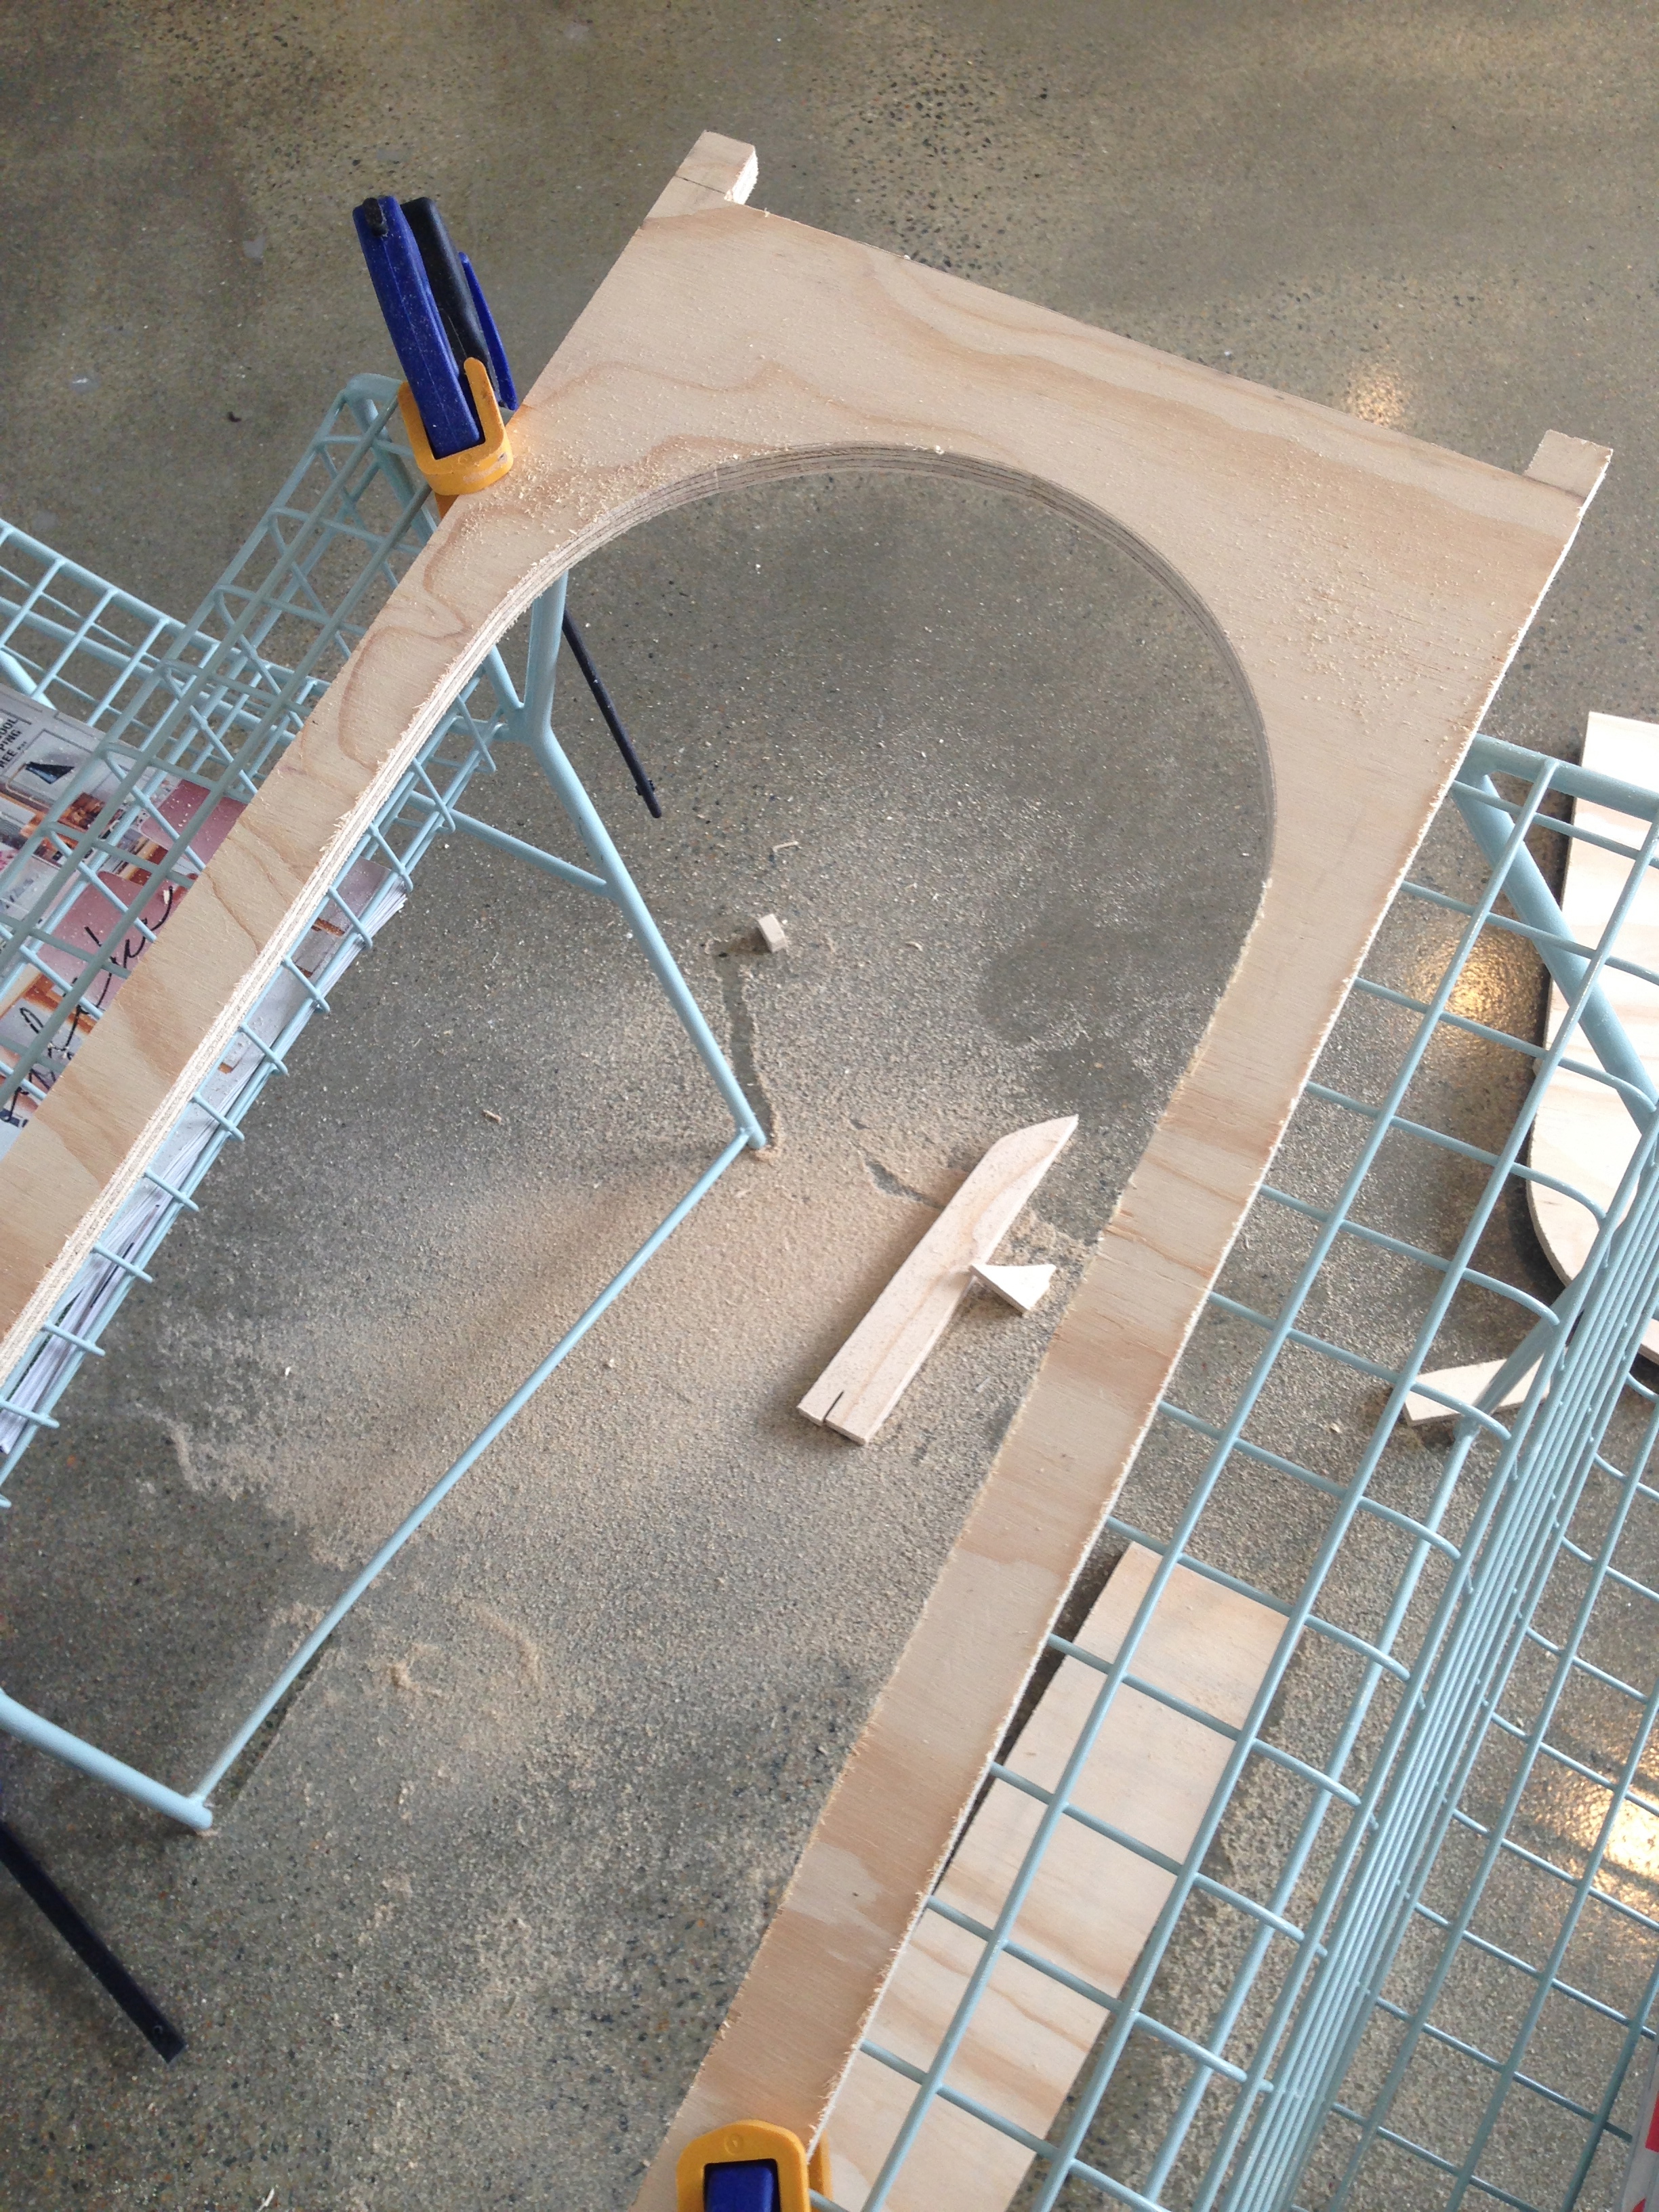
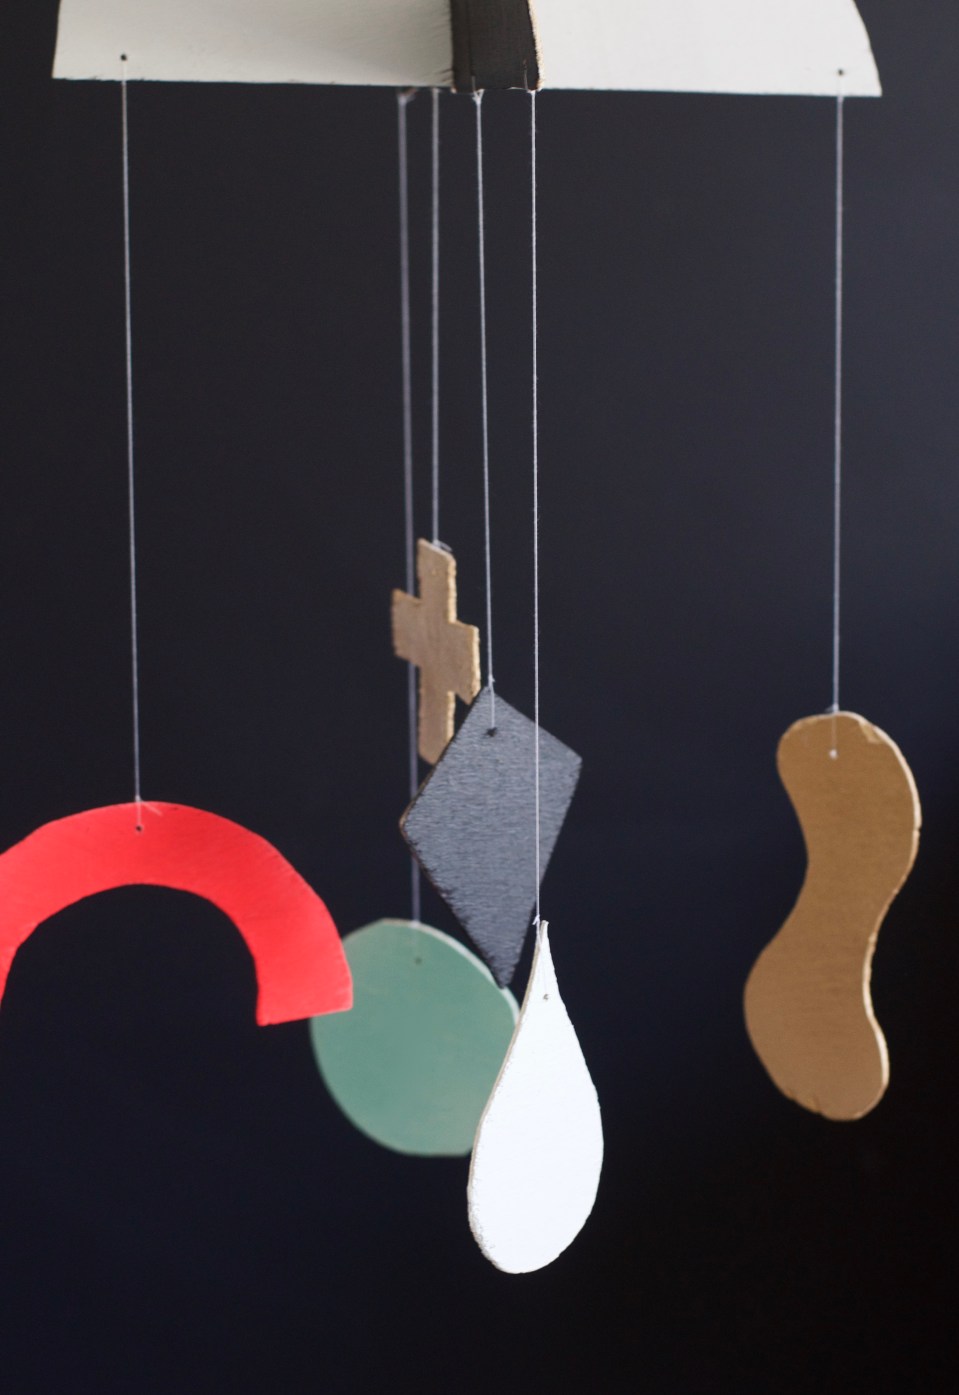
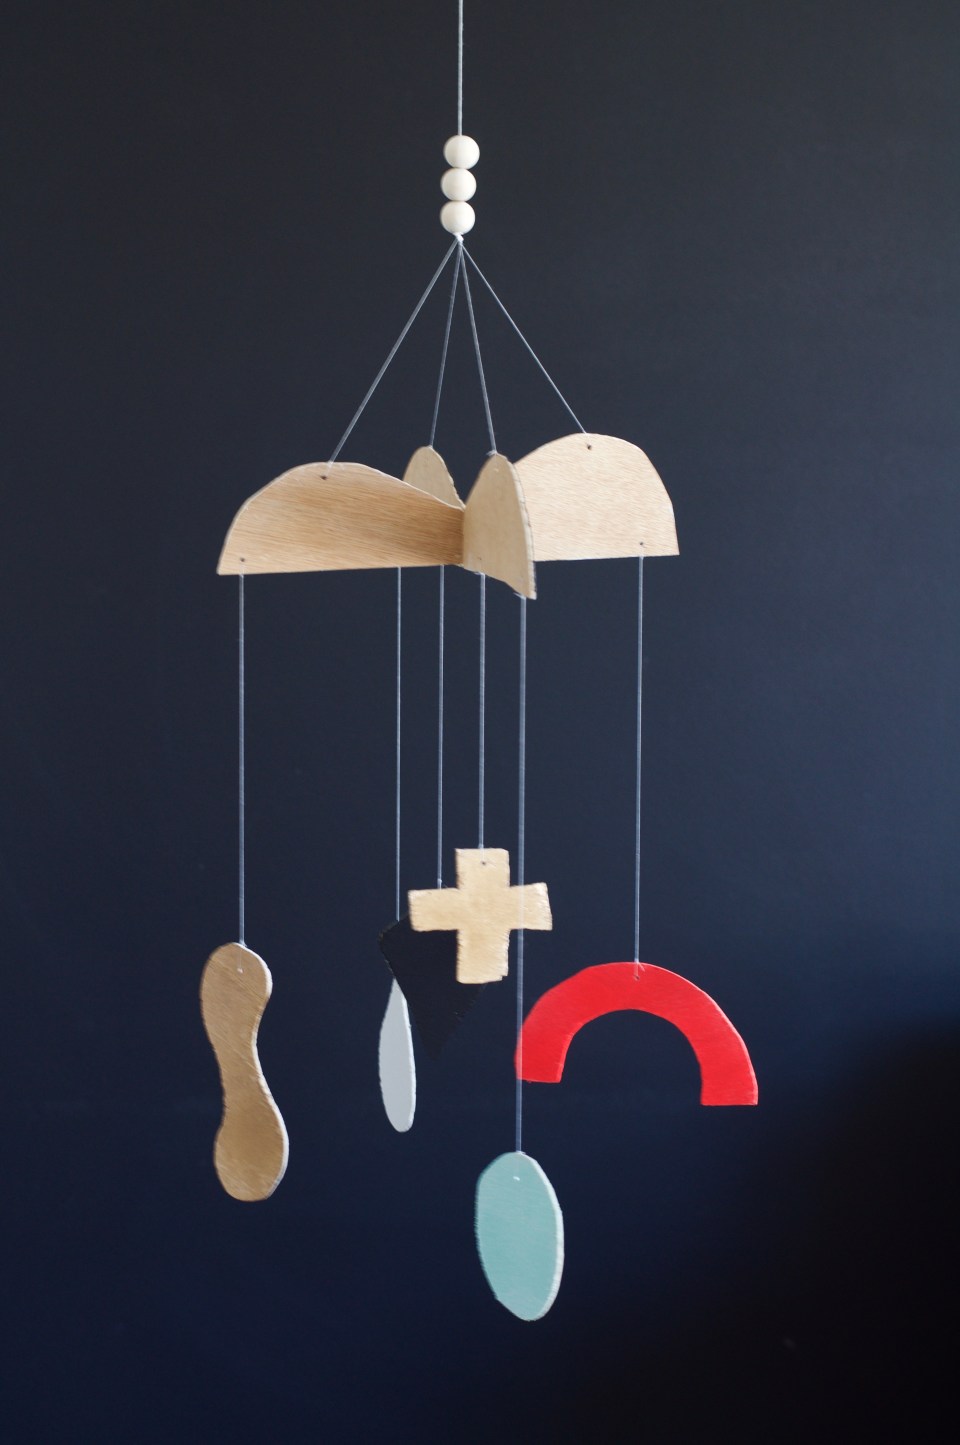
 white for the first few months (don’t quote me on that): black and white it was. It wasn’t too hard to make – designing the main structure so it locked together was the tricky bit. For the rest I drew the shapes, cut them out, sanded, primed and painted them. I used a drill to make the holes in the shapes to thread the string. Encouraged by this first foray into the handmade toy business I ended up making a few more little things–see the